


Implementing Azure Site Recovery for Disaster Recovery: A Step-by-Step Guide
Disaster recovery is a critical aspect of any business continuity plan. It ensures that your organization can quickly and efficiently restore normal operations in the event of a disaster, such as a power outage, natural disaster, or cyber-attack. Azure Site Recovery (ASR) is a powerful disaster recovery solution that enables you to replicate your workloads to a secondary location in the cloud, so you can quickly failover in case of an outage. In this article, we will walk you through the process of implementing ASR for disaster recovery. We will cover how to create a Recovery Services vault, how to configure replication settings, how to install the ASR Mobility Service, how to test the replication and failover process, and how to monitor the replication status. By the end of this article, you will have a solid understanding of how to implement Azure Site Recovery for disaster recovery, and you will be able to set up your disaster recovery plan.
Here are the general steps to implement Azure Site Recovery (ASR) for disaster recovery:
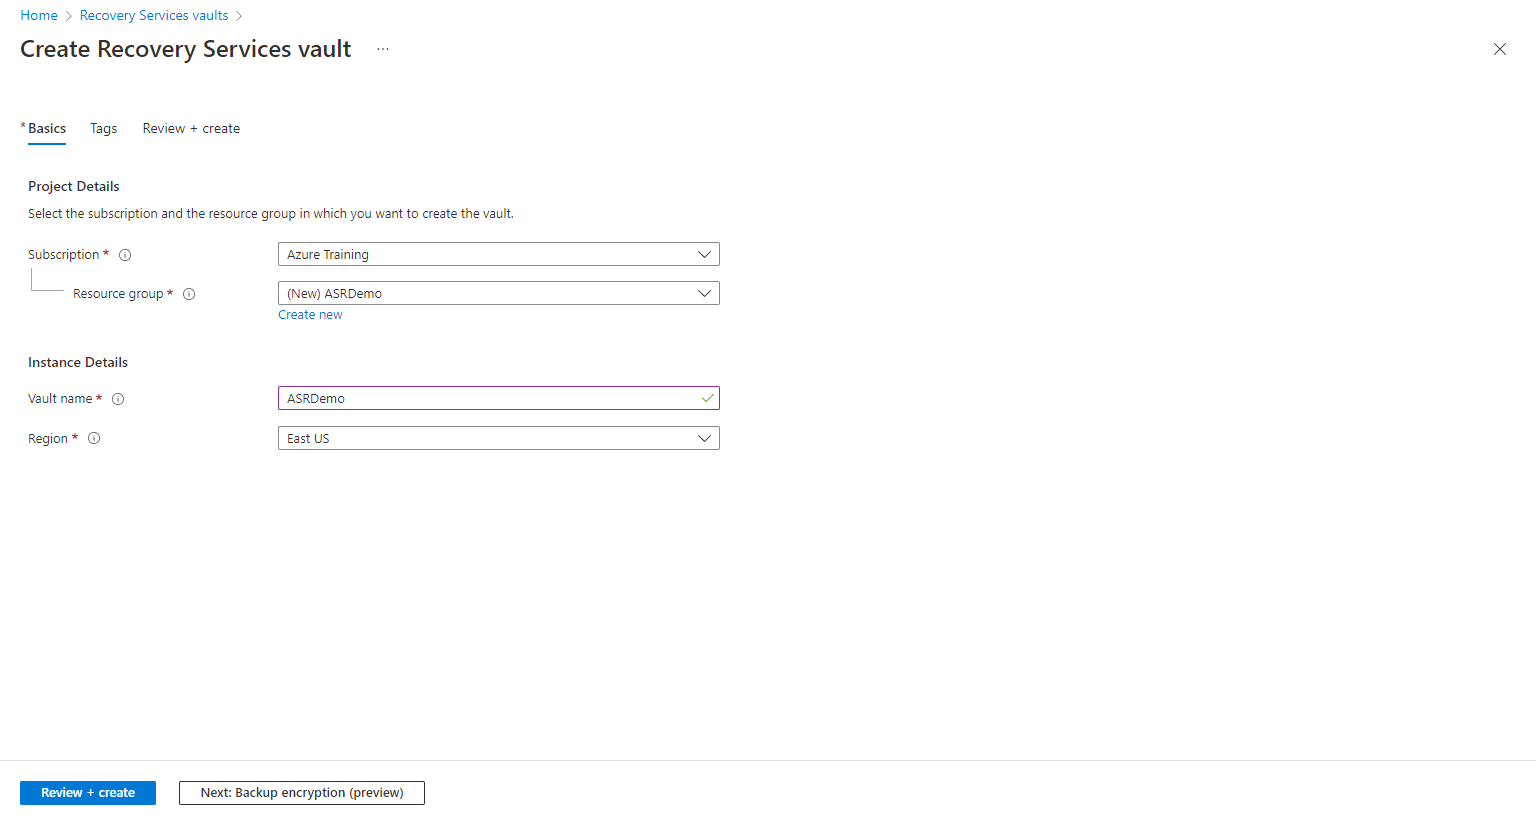
Step 1: Create a Recovery Services vault in Azure (should be a different region of your VMs to replicate). This is a logical container for your ASR resources.
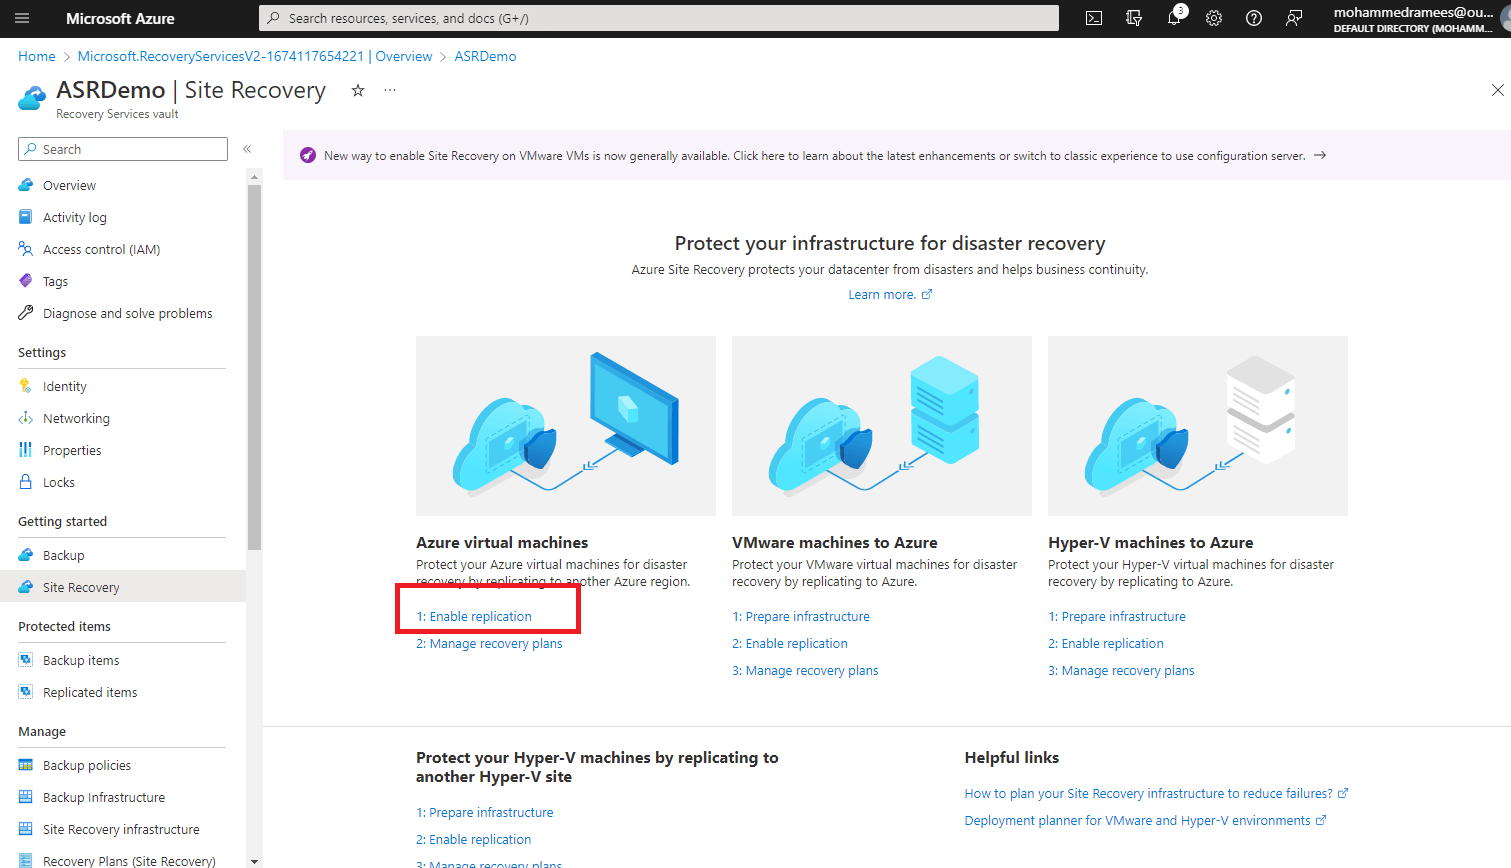
Step 2: In the Recovery Services vault, click on the “+Replicate” button to create a new replication policy.
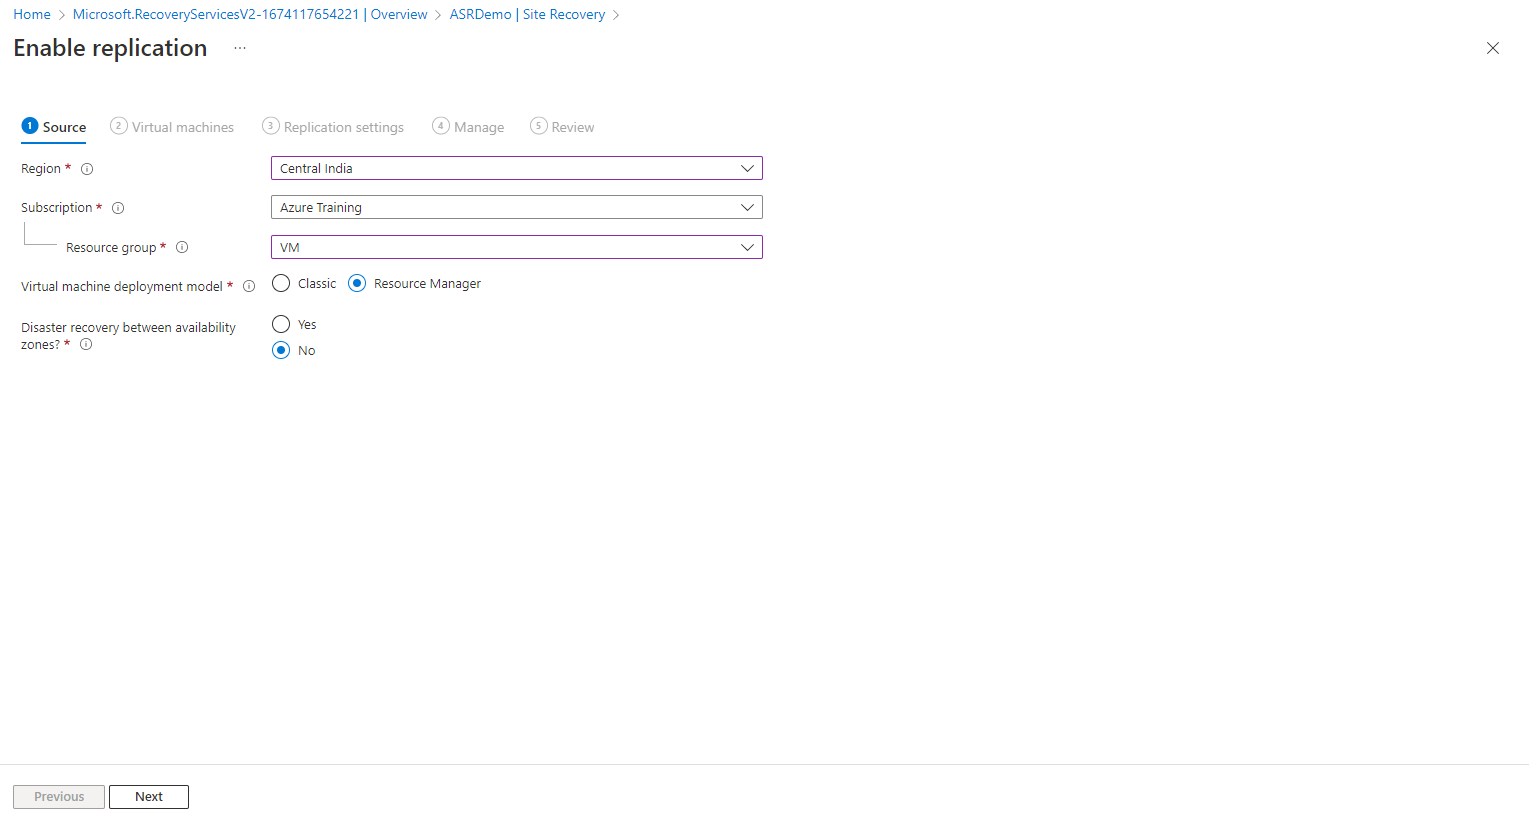
Step 3: Select the source and target locations for the replication. The source location is the location where the primary workload is running, and the target location is the location where the secondary workload will be created in case of a disaster.
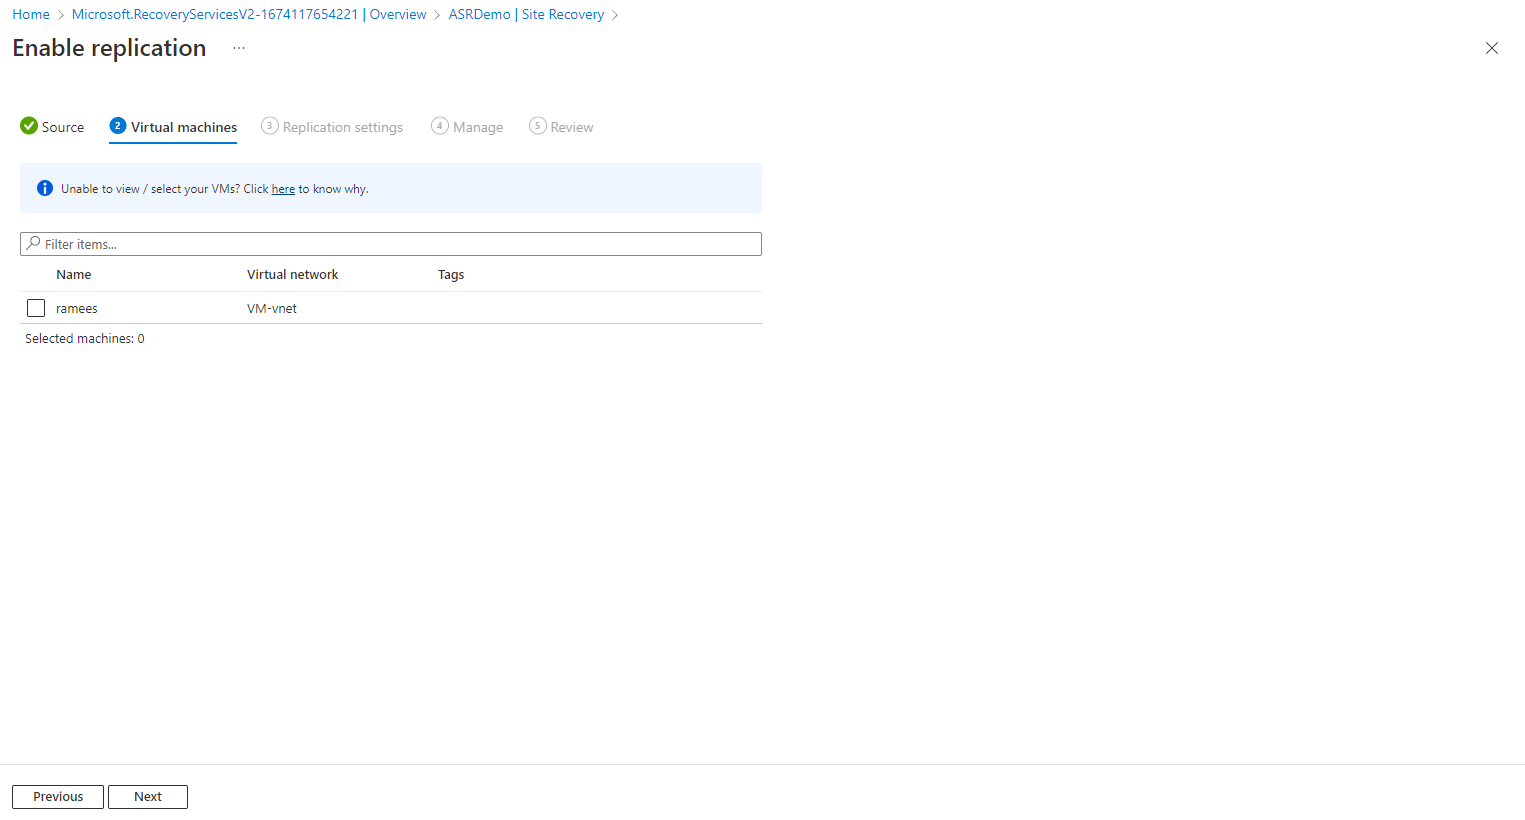
In the next step, select the VM you enable for disaster recovery
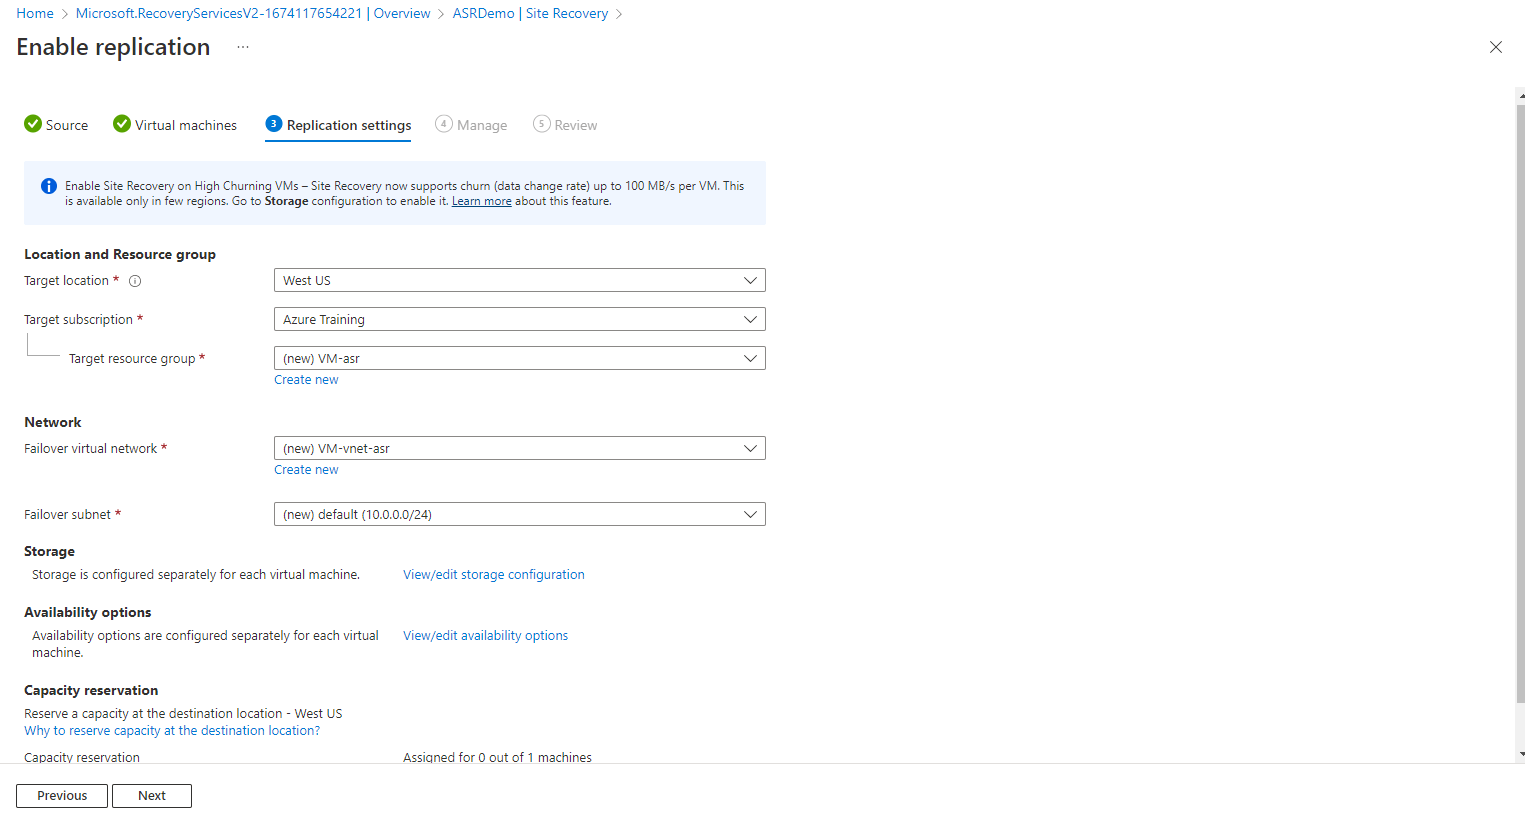
Review the replication settings and make changes if required, here I am going with the default settings
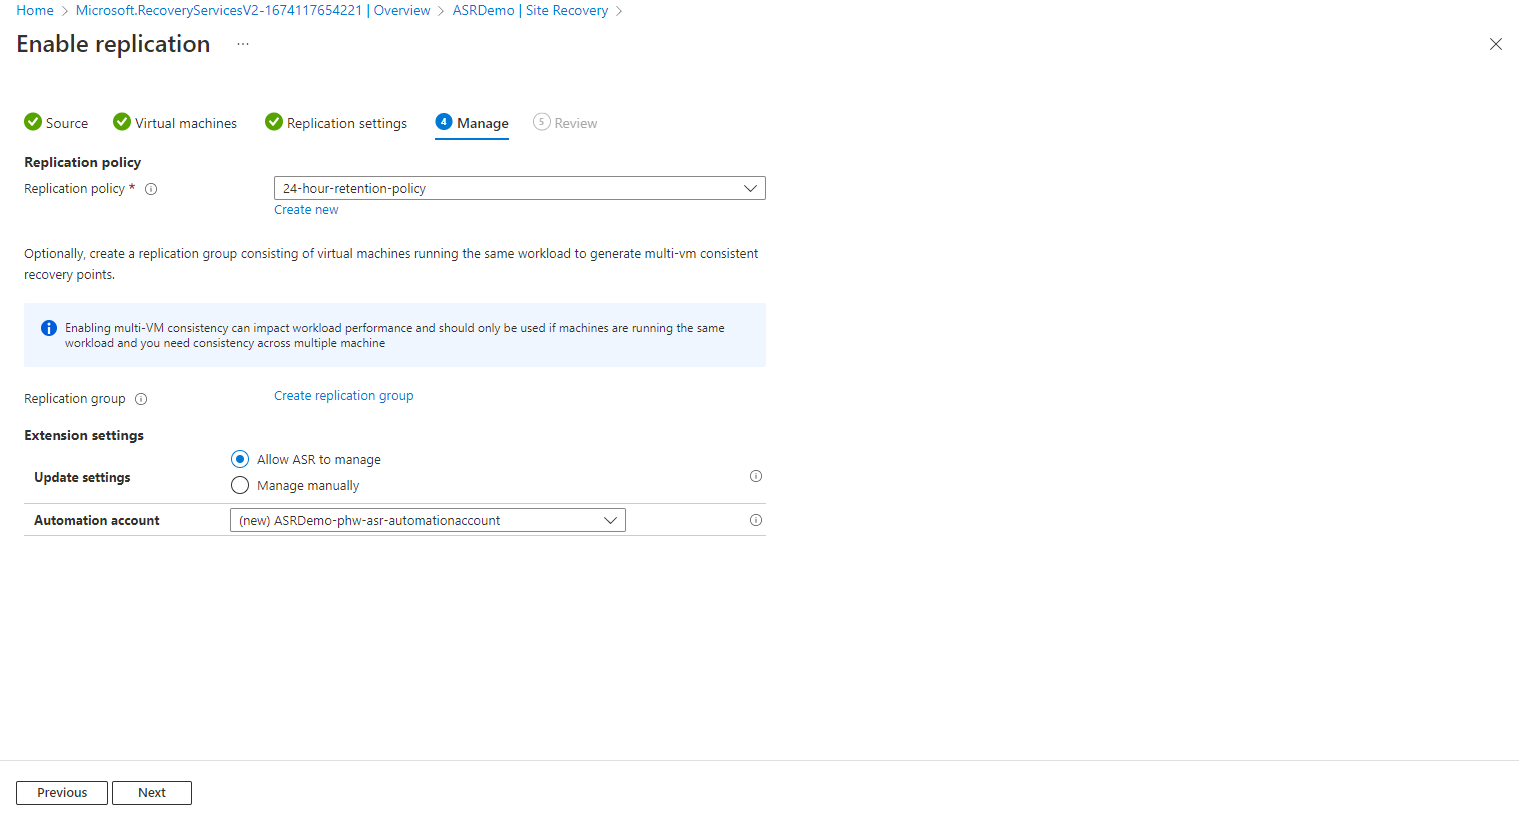
In the Manage section, select the replication policy, which denies the recovery point retention history and app-consistent snapshot frequency. Here I am going with the default 24 hours,
Under Extension settings, Select Update setting and Automation account.
Review all the settings again and enable replication
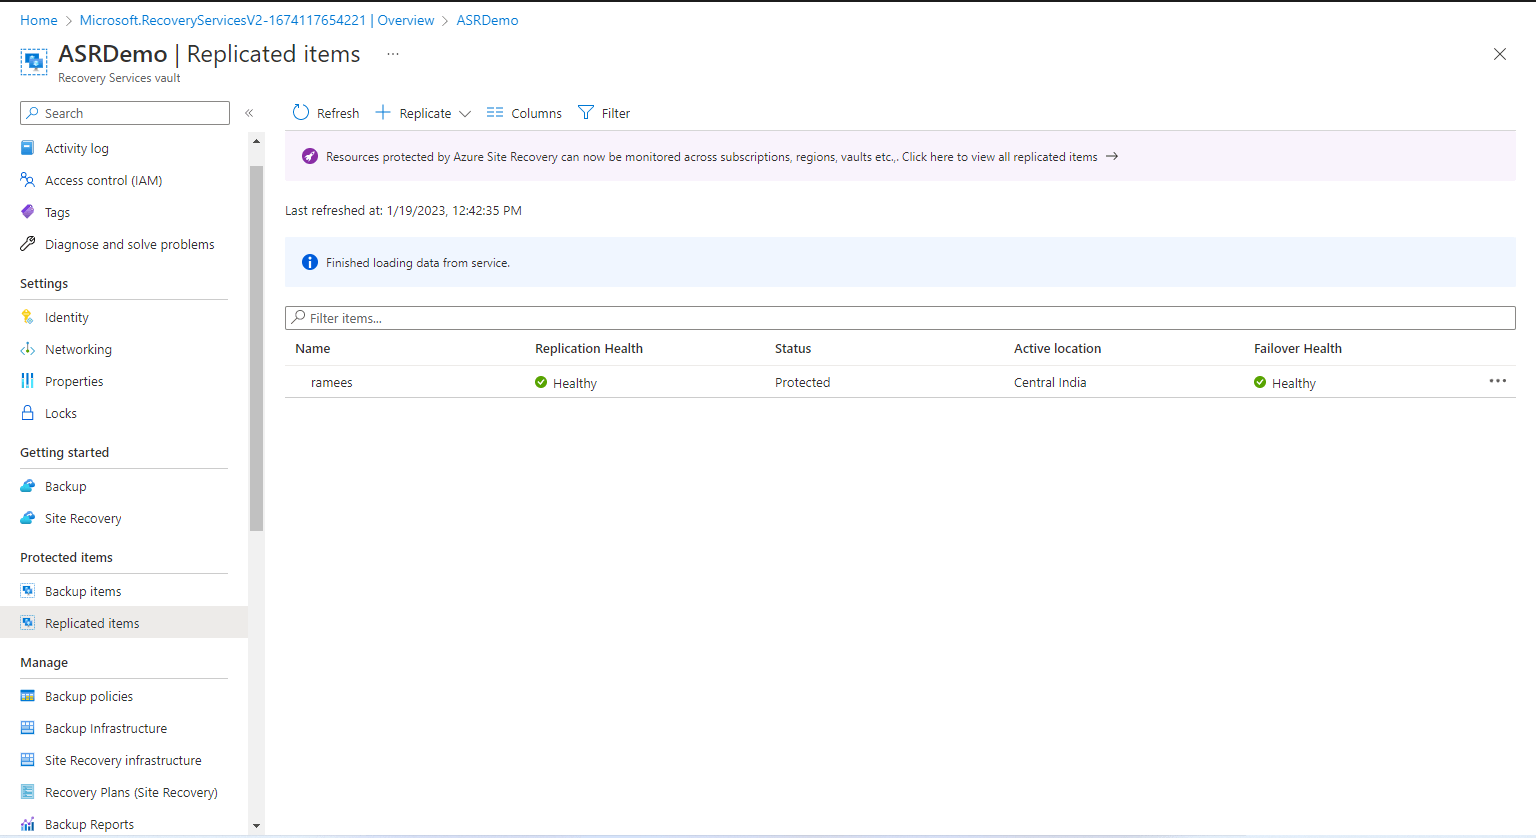
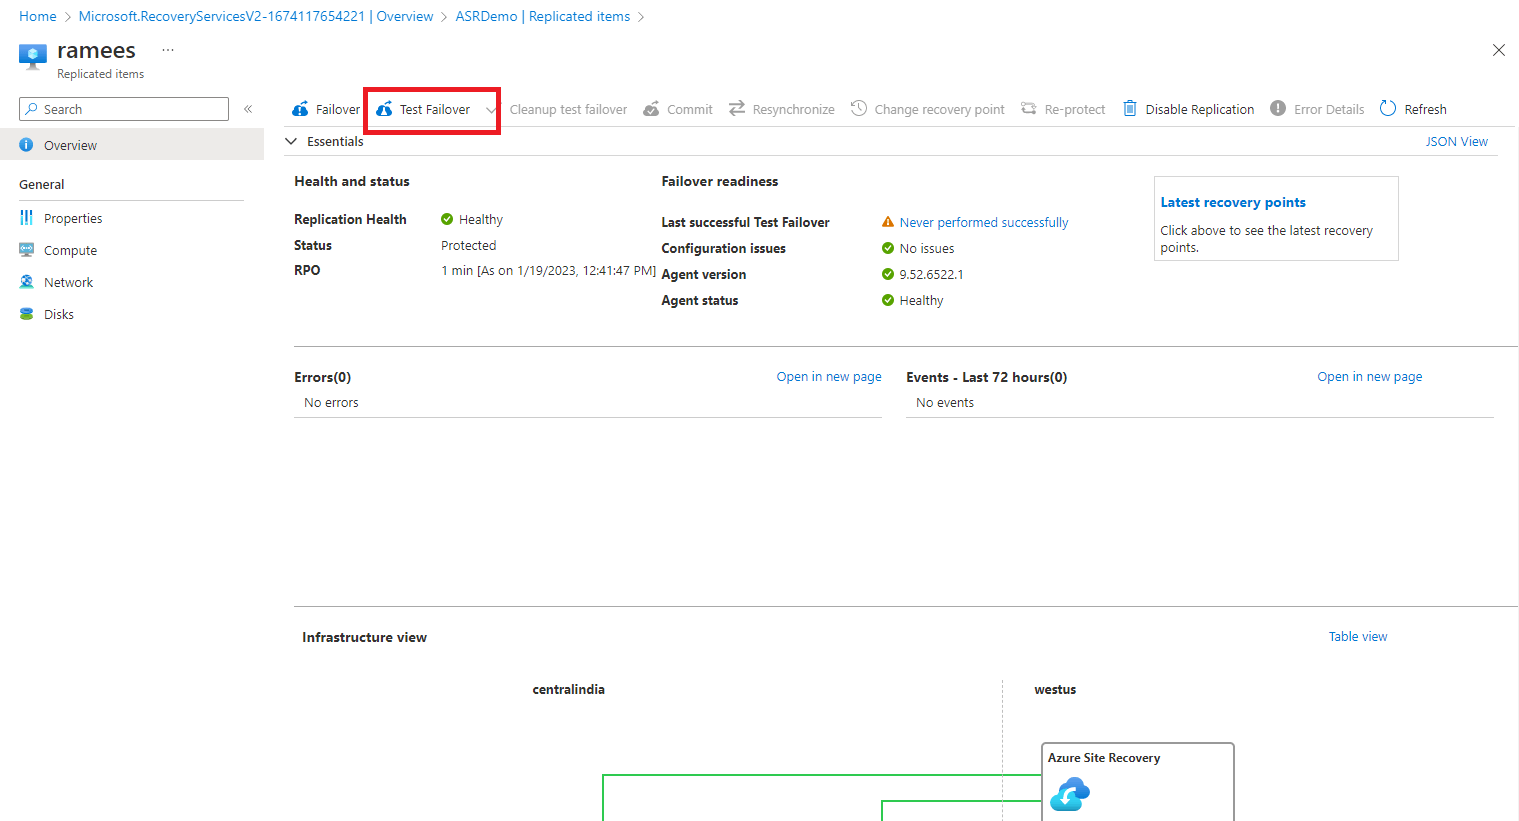
Step 4: Now let us run a disaster recovery drill for the VM replicating with Azure Site Recovery. Go to Replicated items vault, and select, the VM. Make sure the VM is healthy and protected.
Click on the Test Failover.
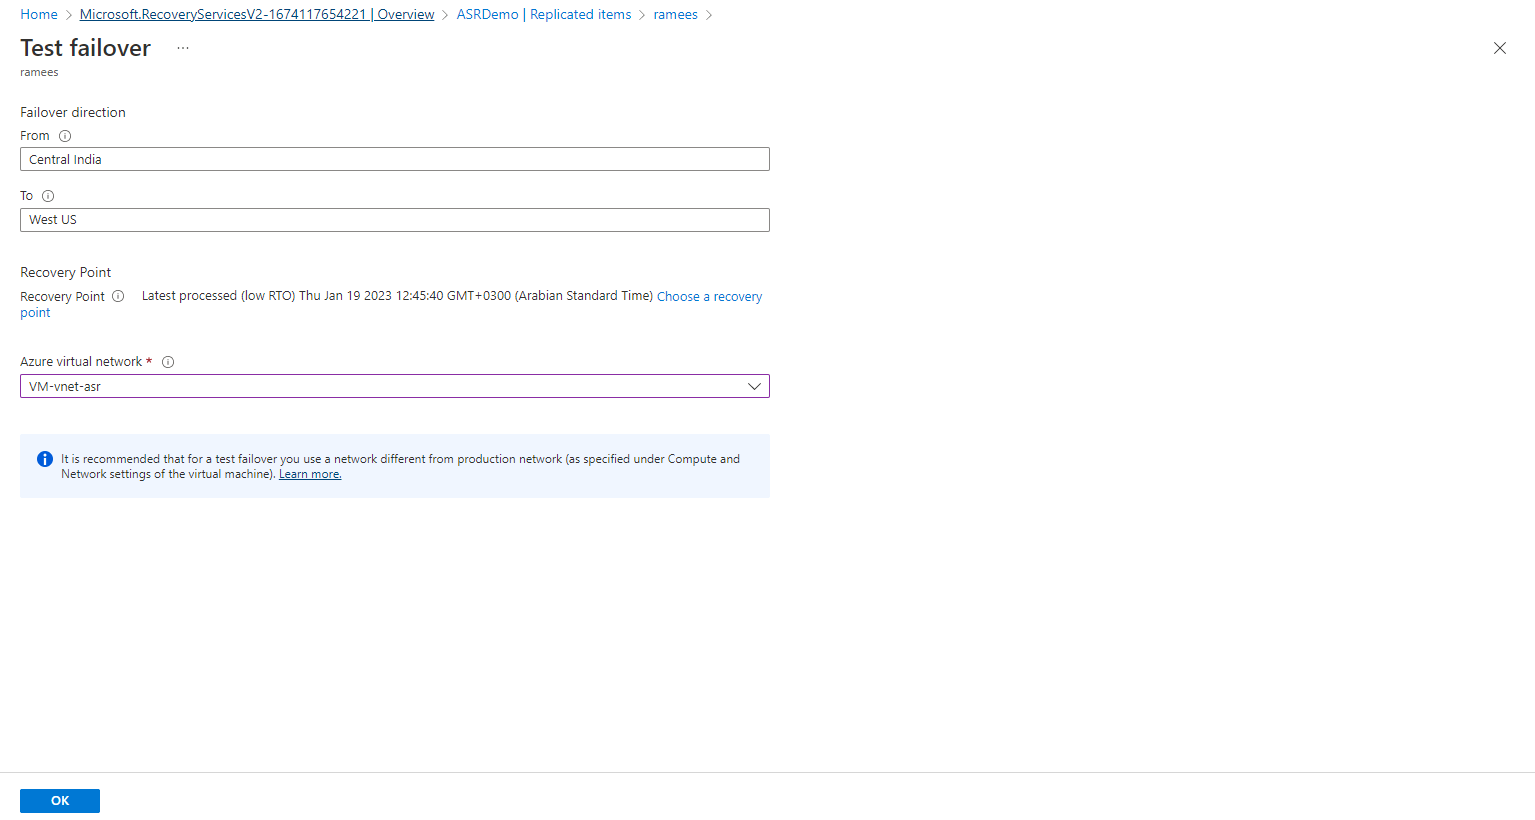
Select the From region (where our existing VM resides), To region and the Virtual network, Click OK.
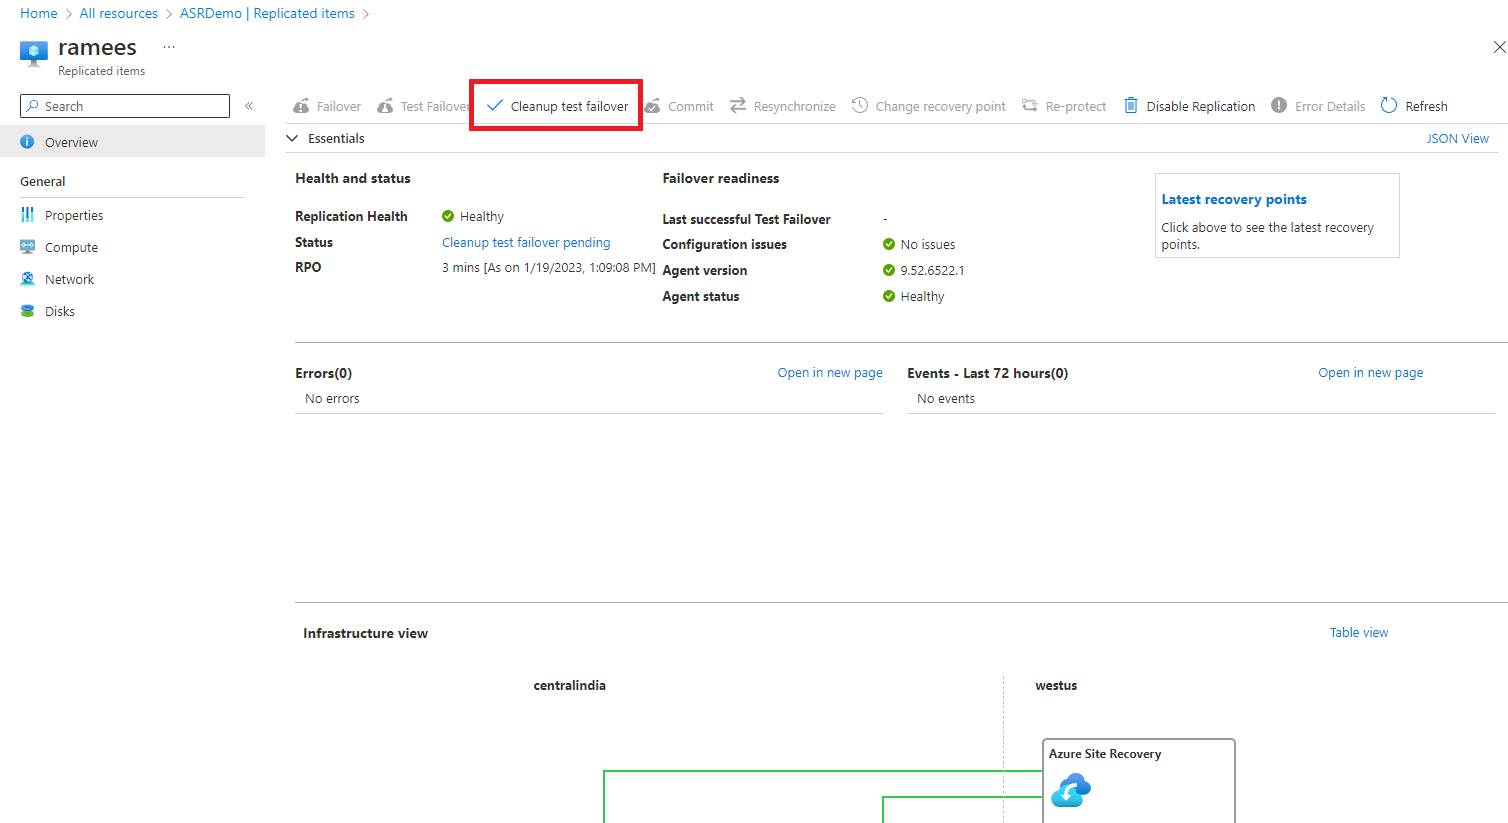
Once the failover is finished, you can see a new Azure VM created in the target region.
Clean up the resources after the test failover.
Note: ASR can replicate on-premises, Azure VMs, and other cloud-based resources. The above steps are general steps and the detailed steps will vary based on the source and target of your replication and if you’re replicating VMs or physical servers. Also, please check the detailed documentation of Azure Site Recovery for more information and other available options.
