


Import large amounts of data to Azure Storage by Azure Import/Export service
In a storage account, you already know that you can use storage explorer to upload any individual files through the browser or you can achieve the same by downloading the storage explorer software application. Else you can also make use of a utility like AzCopy to copy files from your local network into a storage account using a command line tool. This is much more useful when you deal with small amounts of data, but in case of a large amount of data in terabytes, it is not the browser the best option to import or export this amount of data as it will take hours to days based on your bandwidth and someone has to babysit for the same.
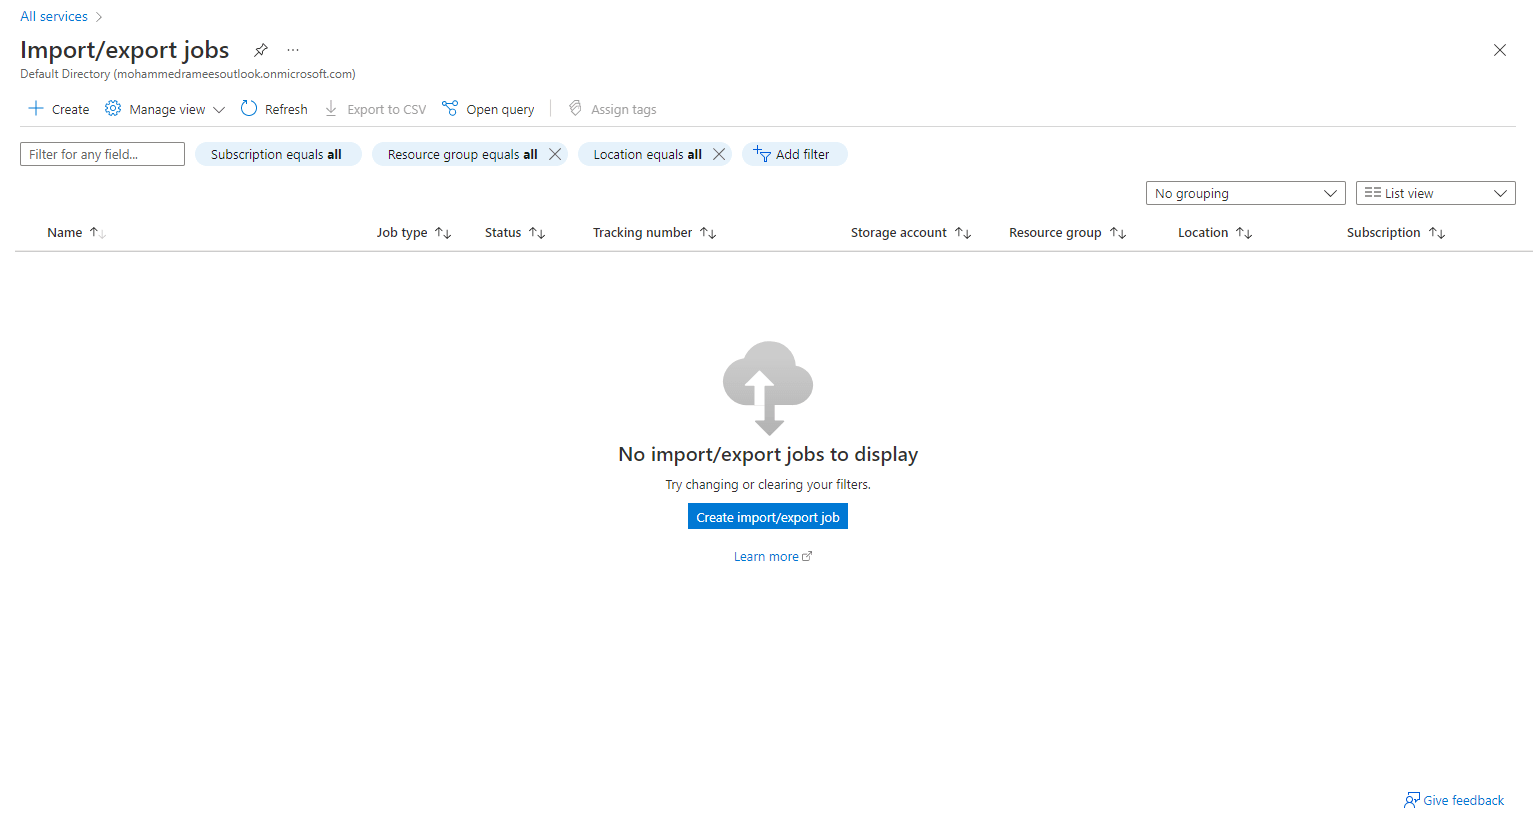
To handle such situations Azure has a separate service called Import/export jobs under the services section. (You can just search for Import/export jobs on the search bar and select from the suggestions list).
Here, I currently don’t have any import/export jobs and I am creating one by clicking Create import/export job
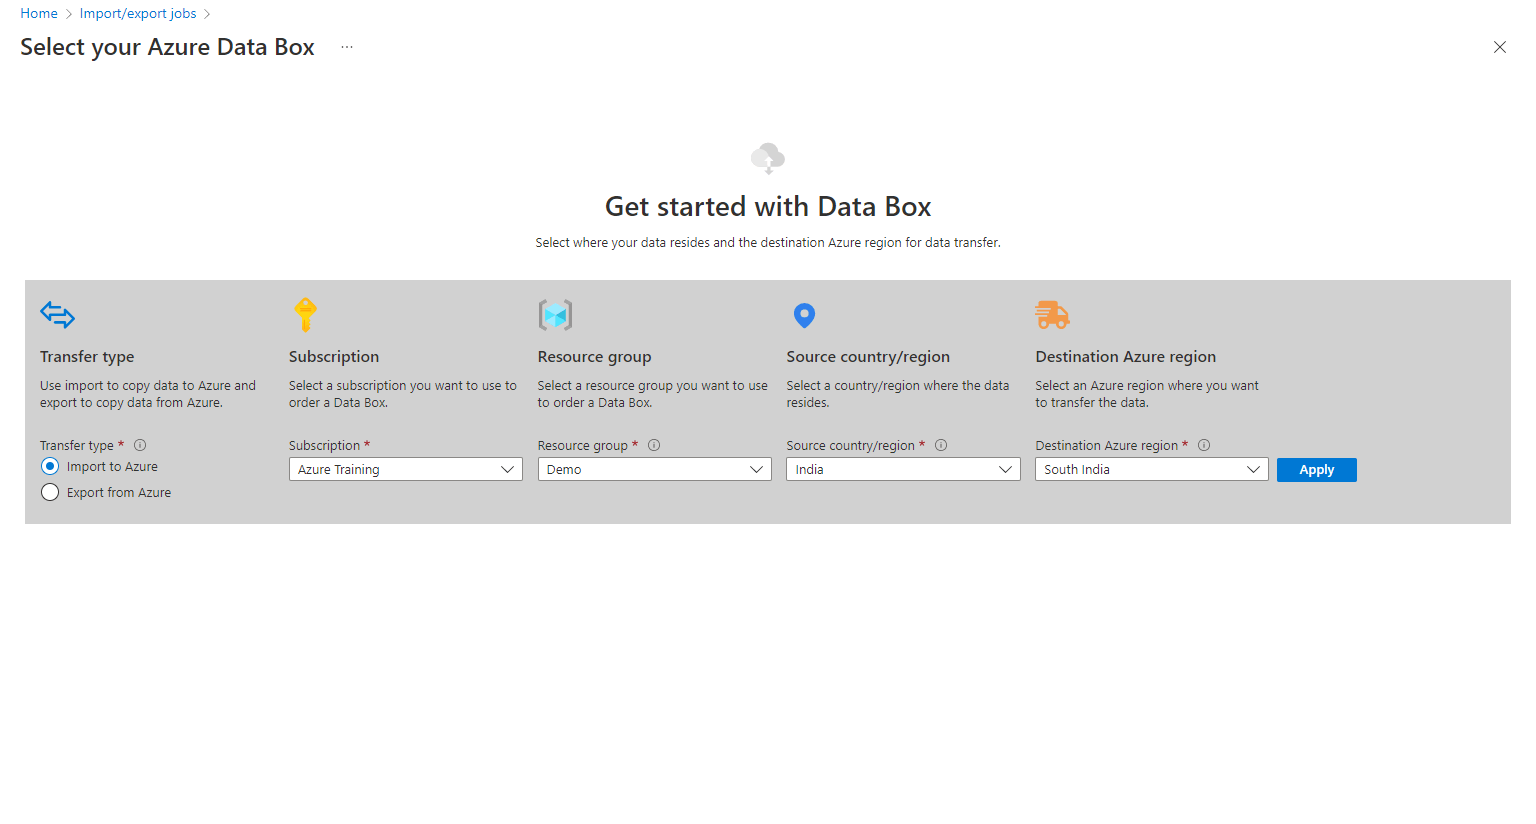
Here we have the option to choose either are we going to Import to Azure or Export from Azure, here I have used Import to Azure, after that, you have to choose the Subscription of the resource, Resource Group, Source country/region, and Destination Azure region.
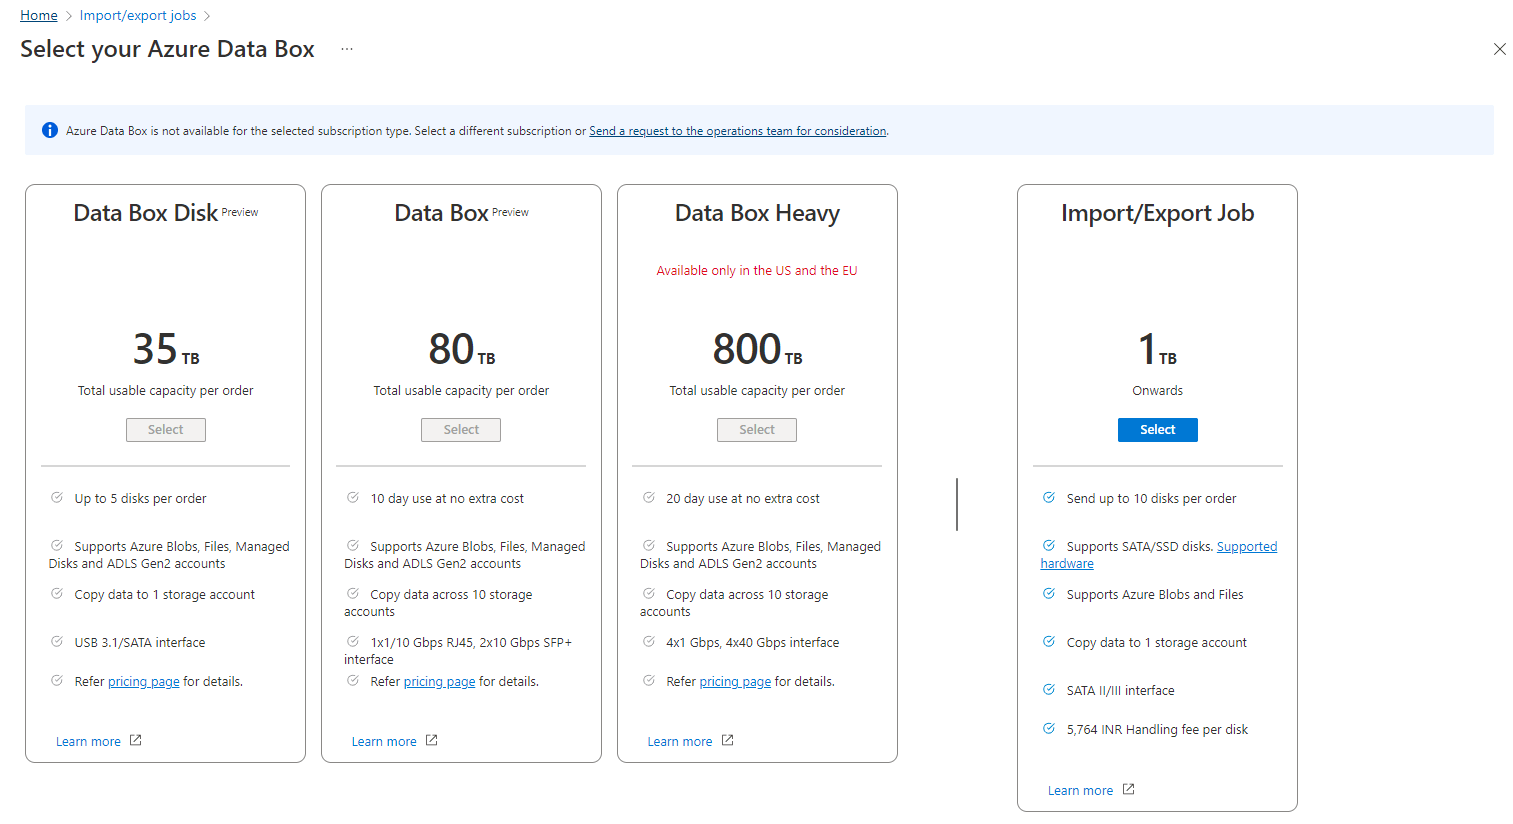
Now choose the Azure Data Box/SATA/SSD disks based on your requirements. (Availability based on the subscription type and location). Here I am selecting the Import/Export Job option.
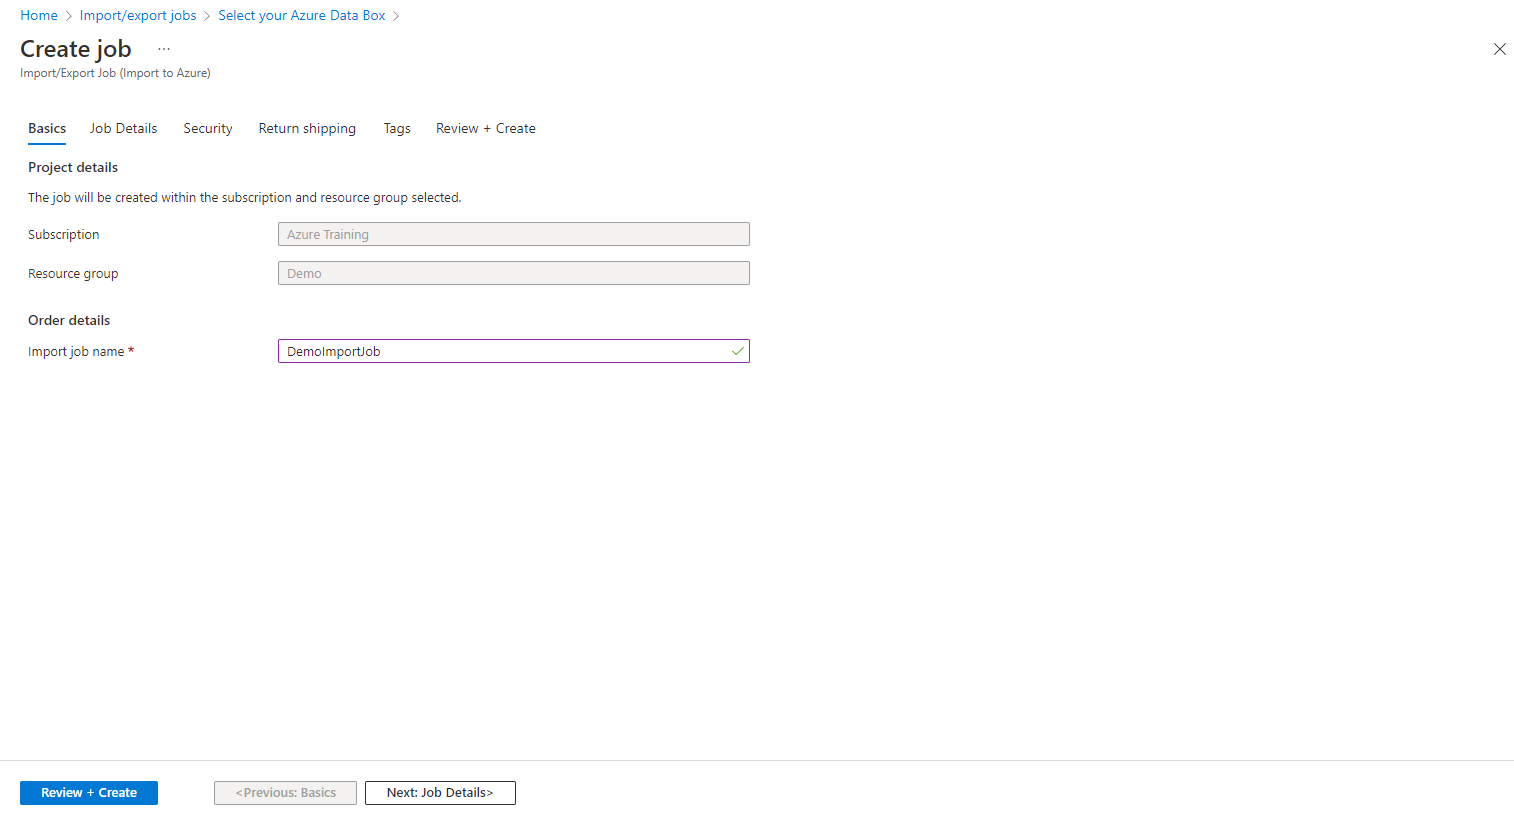
Provide the basic details where the Subscription and Resource group will be already selected based on our previous selection and give the Import Job a name.
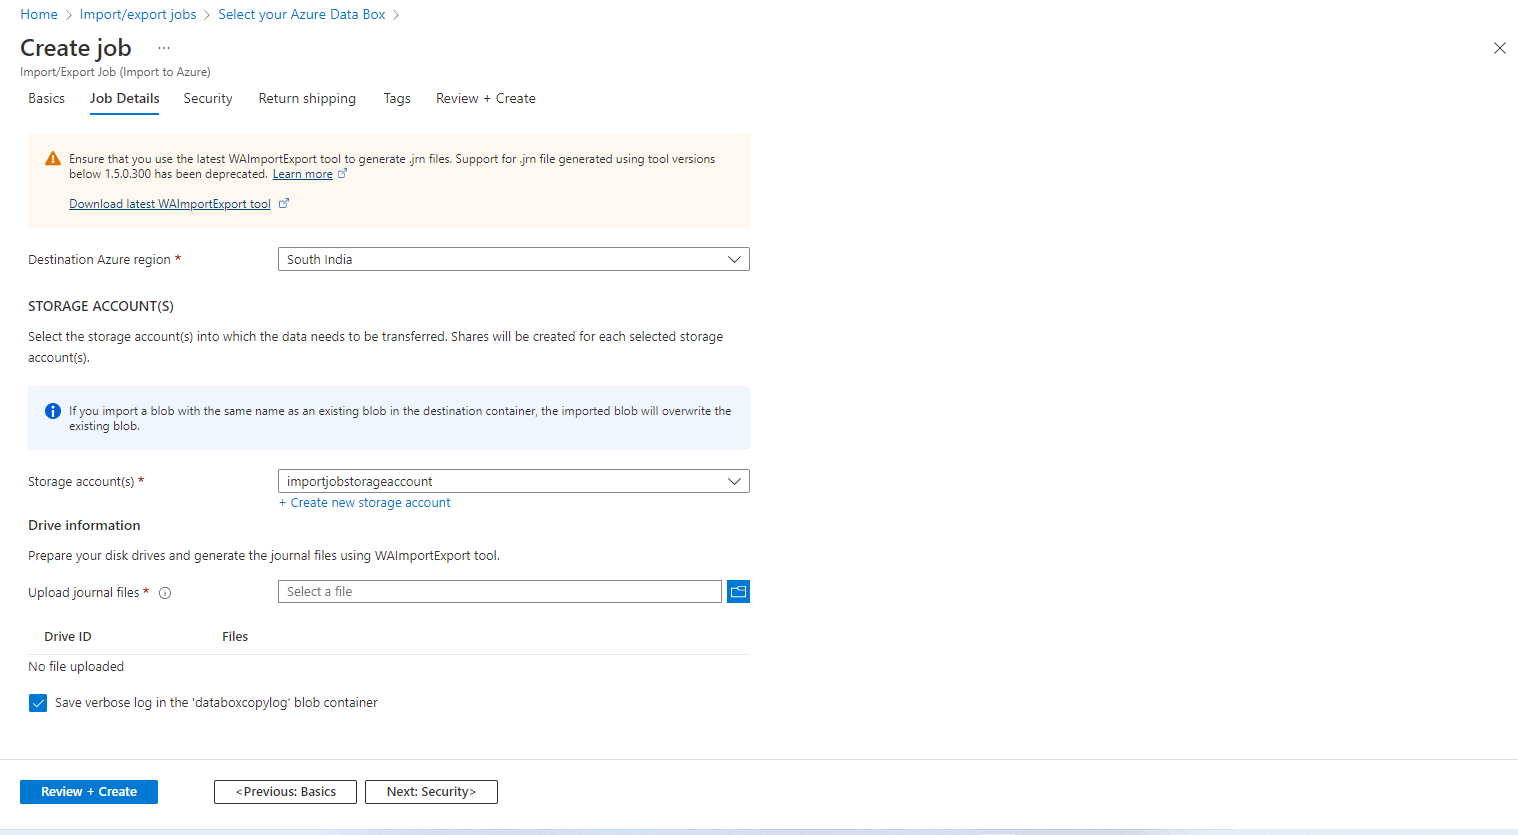
In the Job details section, Choose the storage account and upload the journal file generated by the Azure Import/Export Tool for the drive when it is prepared which includes the drive ID, the BitLocker key as well as other information about the drive. (You can complete the preparation of the drive before this step)
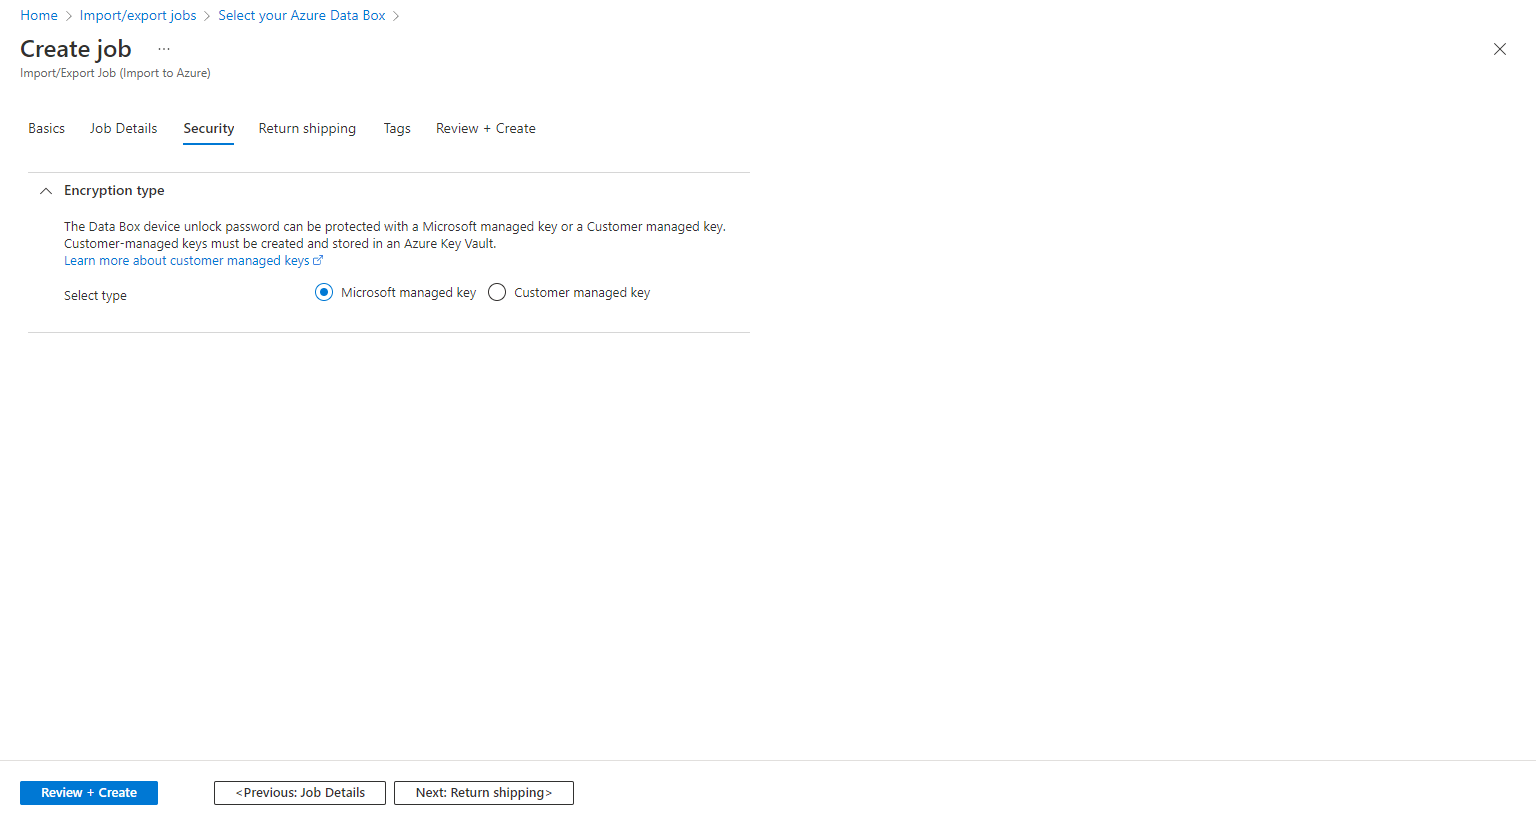
Choose the encryption type of either a Microsoft-managed key or Customer managed key from the security tab.
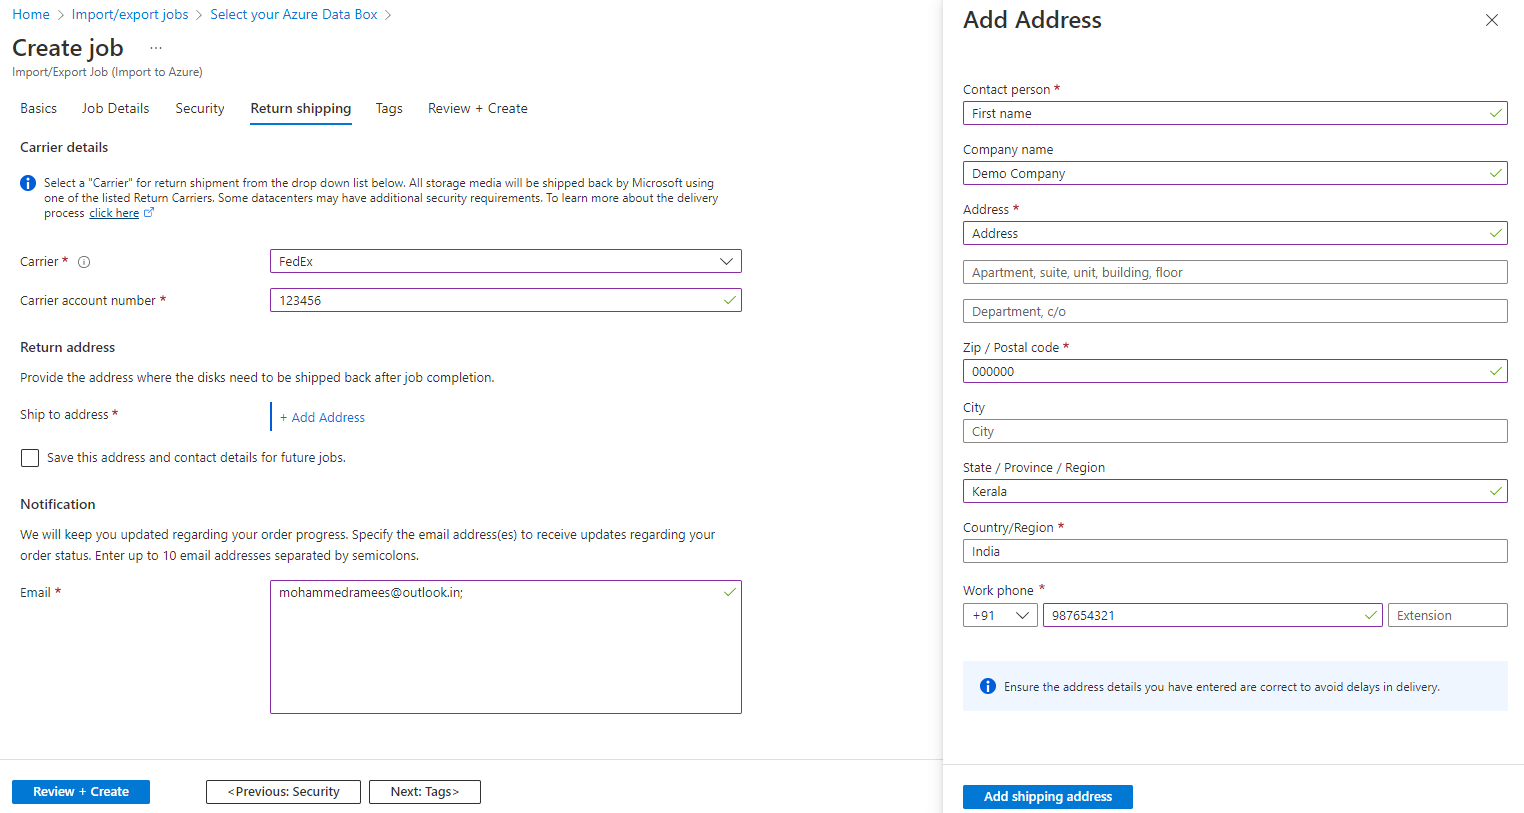
Choose your carrier for shipping, and submit your carrier account number, add your return shipping address.
Once you are done, just review and create and submit for the deployment
Once the deployment is completed you have to properly pack your disks and ship them to the provided address and you can track the job status there.
