


Create and manage Azure file shares with Windows
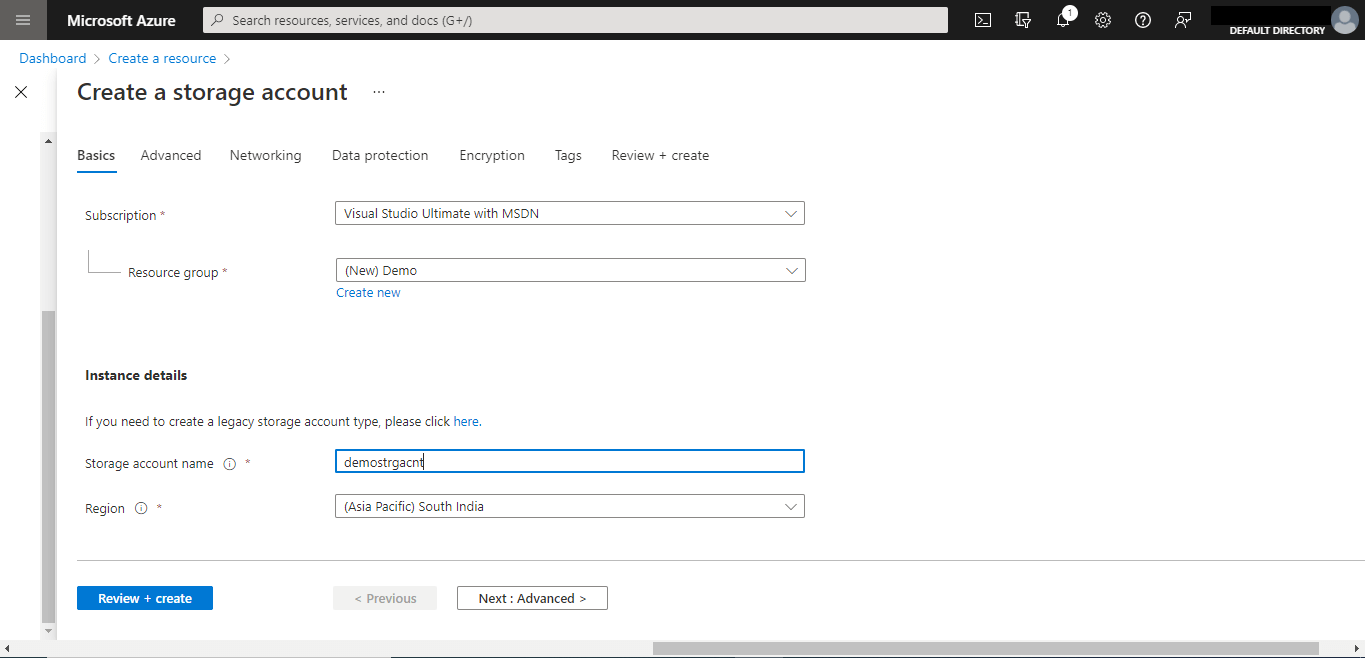
Create Storage Account
- Login to Azure Portal, click on Create a resource and select Storage account
- On the Basics tab, select the Subscription, select or create the Resource group, give your Storage account name and select the Region close to you. The storage account name needs to be unique between 2 to 24 characters and has only numbers or lowercase letters.
- Choose Performance tier based on your requirements, the Standard for most scenarios, and Premium for the scenarios that require low latency.
- Select the Redundancy, i.e. how you want the storage account to be replicated: Locally-redundant-storage or Geo-redundant-storage
- Click on Review + create followed by Create to submit your storage account for deployment
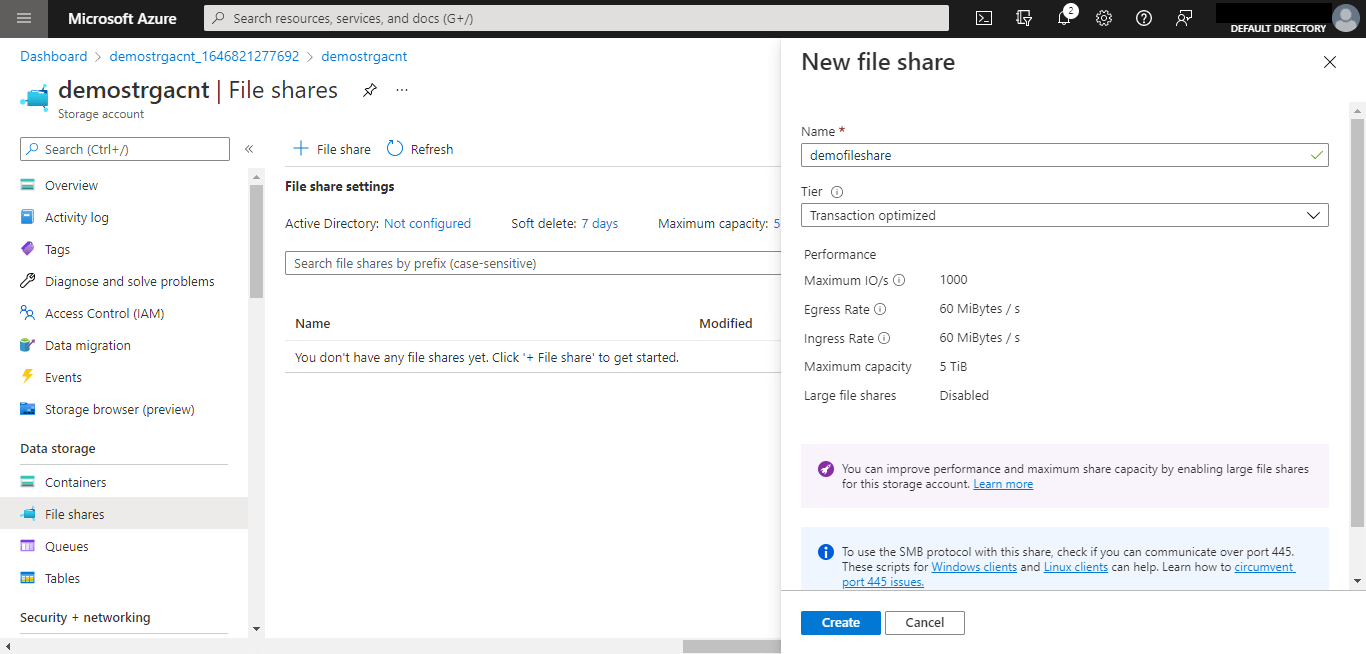
Create an Azure File Share
- Once your storage account is deployed, click on Go to resource, or select the storage account from your resource list
- Select the File Shares from the storage account pane, which will open the file shares pane.
- As we don’t have any File Shares created, select + File Share, give a name of your choice, choose the tier, which I am leaving as the default, Transaction Optimized. The maximum quota for this file share is 5 TiB, which can be also 100 TiB with large file share enabled.
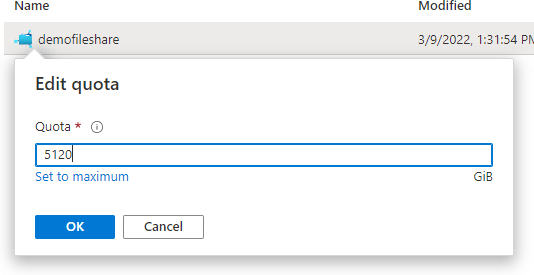
You can also Edit quota after deployment by right-clicking the file share.
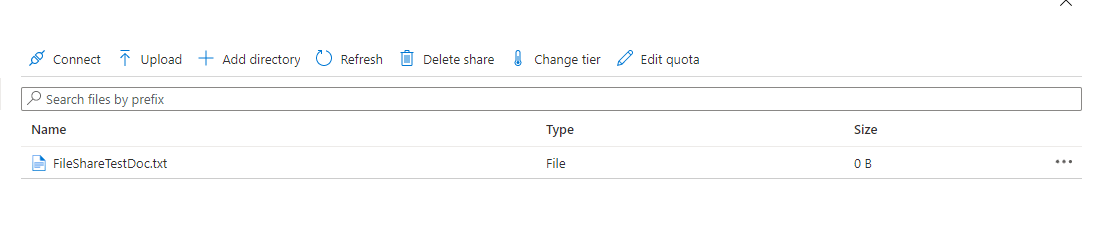
You can also test the File Share by uploading any sample file from your local machine.
Map Azure File Share to your Windows PC
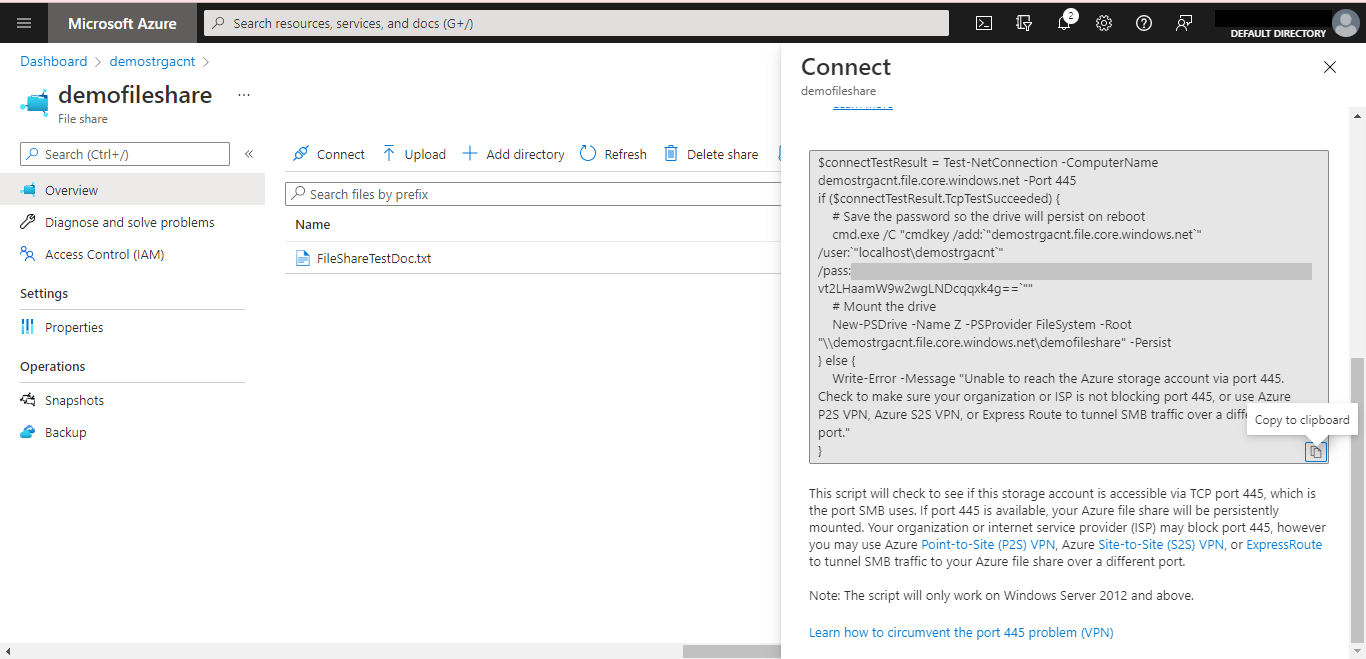
Click on Connect on the file share and Select a Drive letter, you want to use for the file share and copy the script on the tab, paste and run it on the PowerShell on your PC
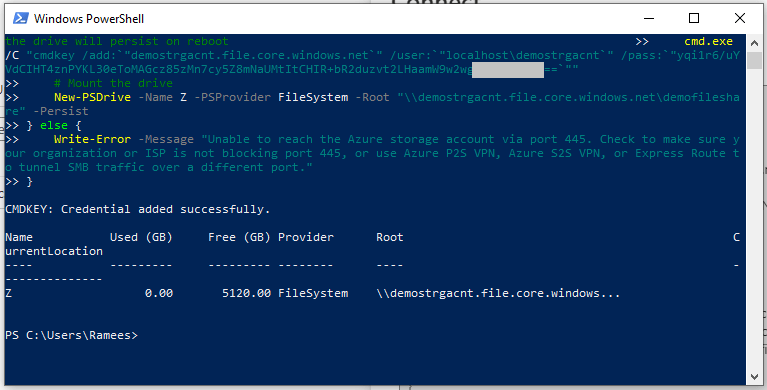
Now you can see the a drive got attached to your PC
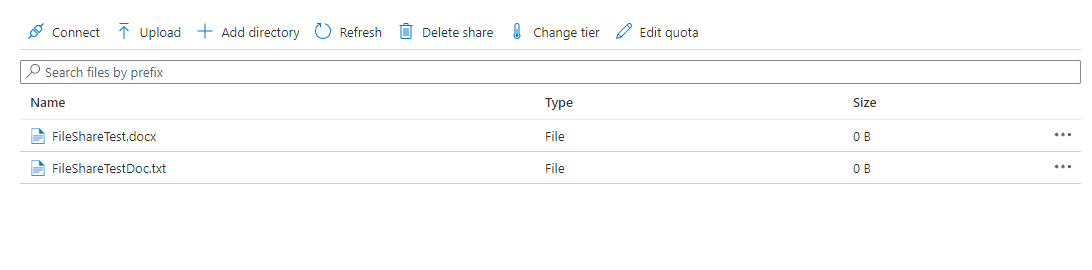
You can either upload files through the portal or create inside the drive or copy them to the drive, which will be reflected on both sides

Create/Browse/Restore a Share Snapshot

Azure file share also enables you to create a snapshot within the portal, by just clicking on the + Snapshot from the File Share pane.
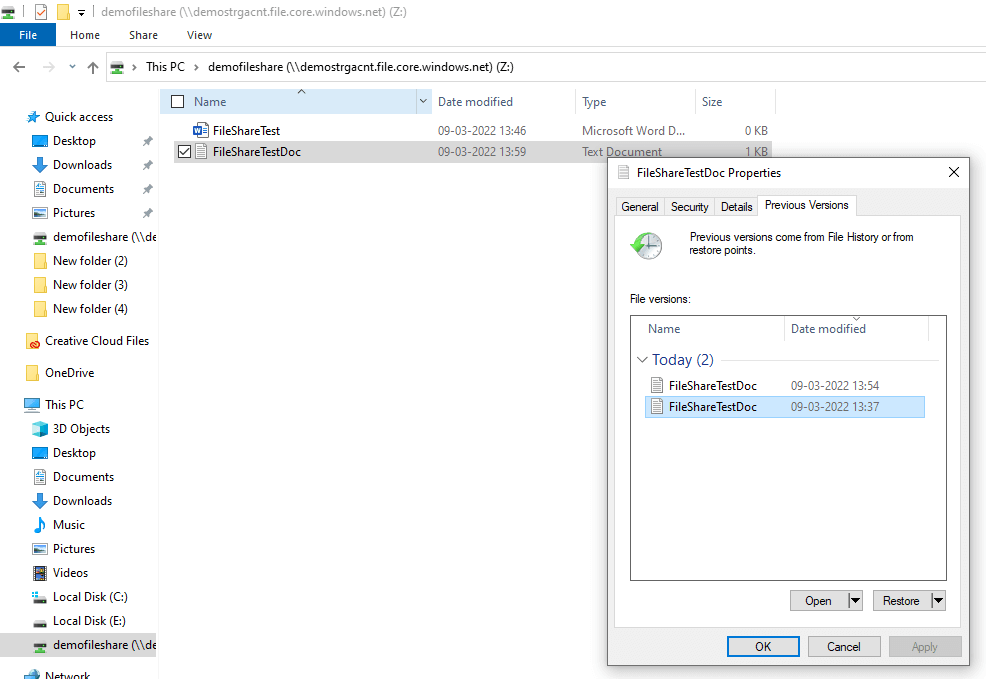
You can restore from the snapshot by right-clicking on the file from the snapshot and clicking or restore or by selecting properties from the right-click menu of the file and restoring from the previous versions tab
