


How to keep your Azure Subscription Clean
It is a common issue everyone faces that, one creates many resources for demo or testing purposes and totally forgets about it and ends up using all their credits. Those who are on a pay-as-you-go plan may get huge bills at the end of the month if they didn’t pay attention to the same.
Here in this article, we will see how to use the power of PowerShell, Azure Automation, and Resource tags to automatically delete all temporary resources with some simple steps.
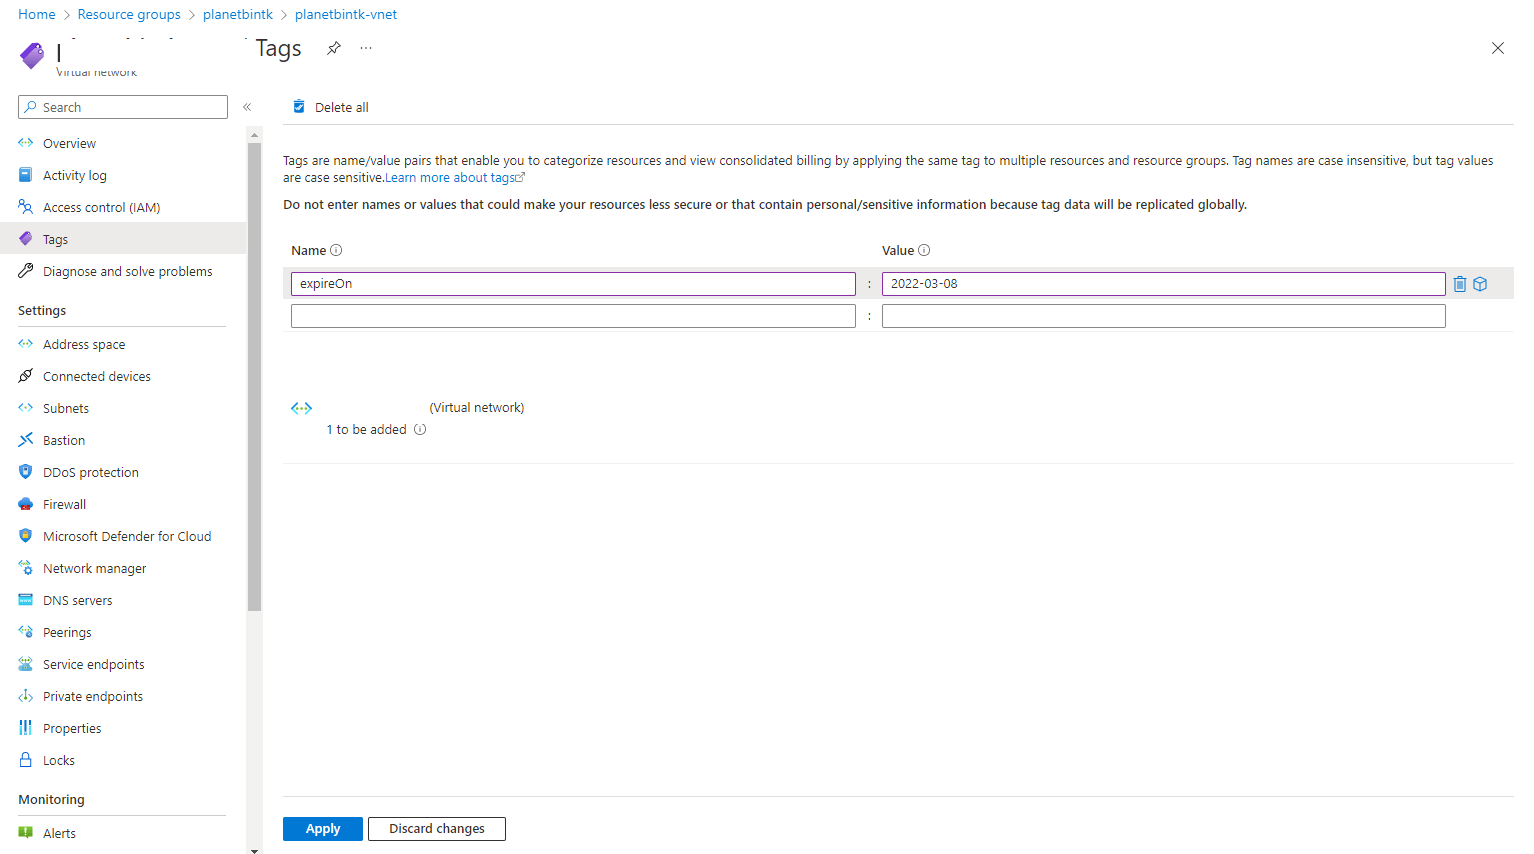
Step 1: As there is no way for Azure to determine whether a resource is being created temporarily or not on its own, we have to mention the same with the help of tags. So whenever you are creating any resource for demo or testing purposes. Create a tag for it with a key value. Here we will use a tag called expireOn and set a date in the format YYYY-MM-DD
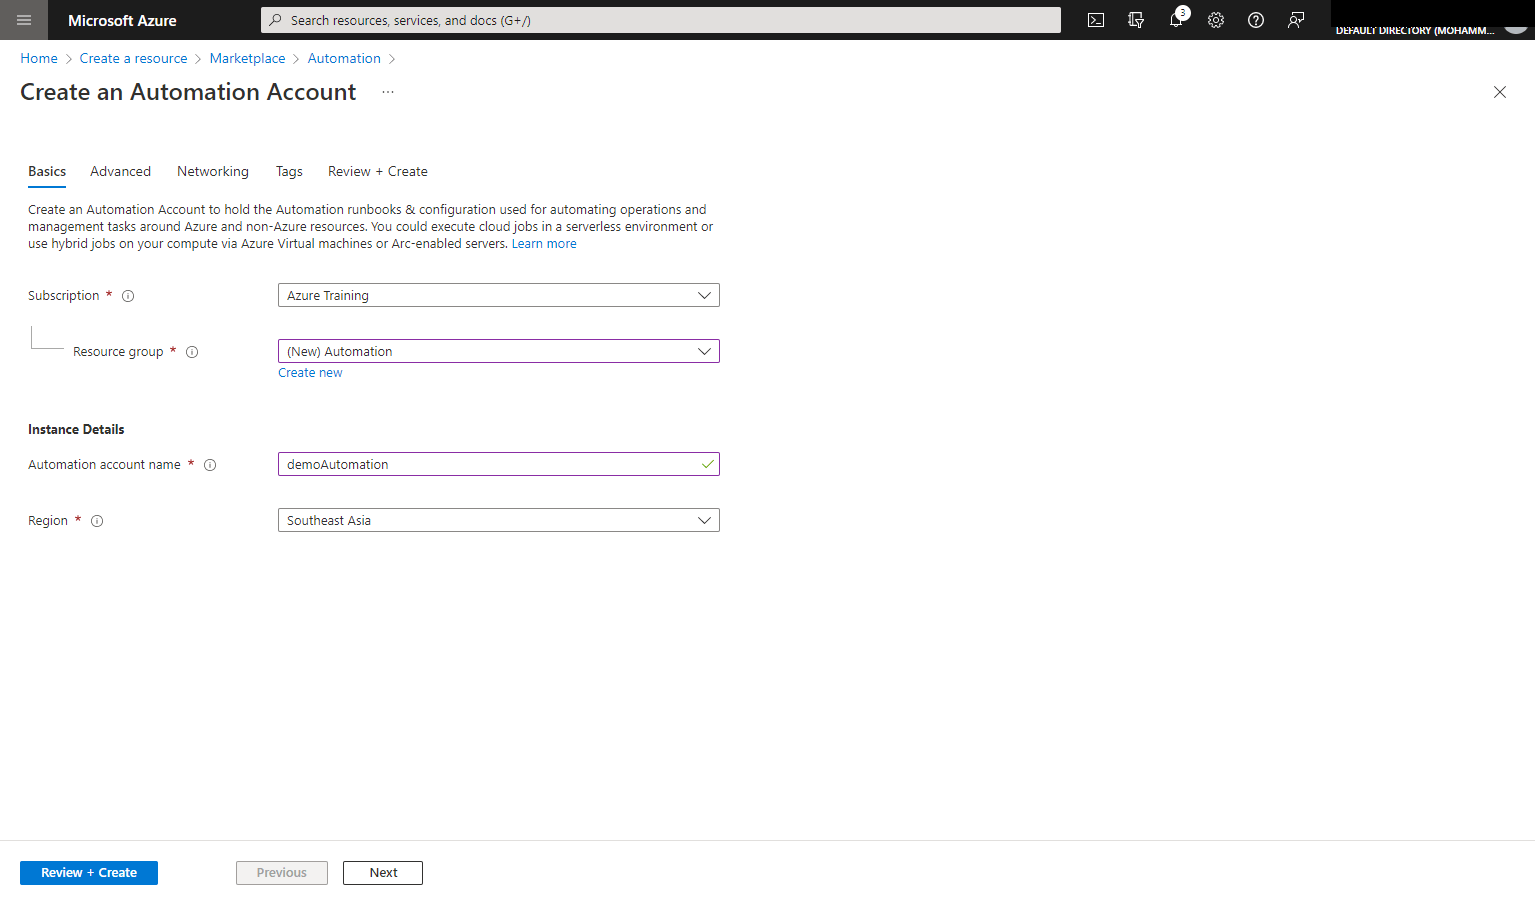
Step 2: To Automate the process we need to create an Azure Automation account with the following steps
- Click on Create a Resource and search for Azure Automation Account
- Enter a Name, and select or create a new Resource Group, Location.
- Click on Create
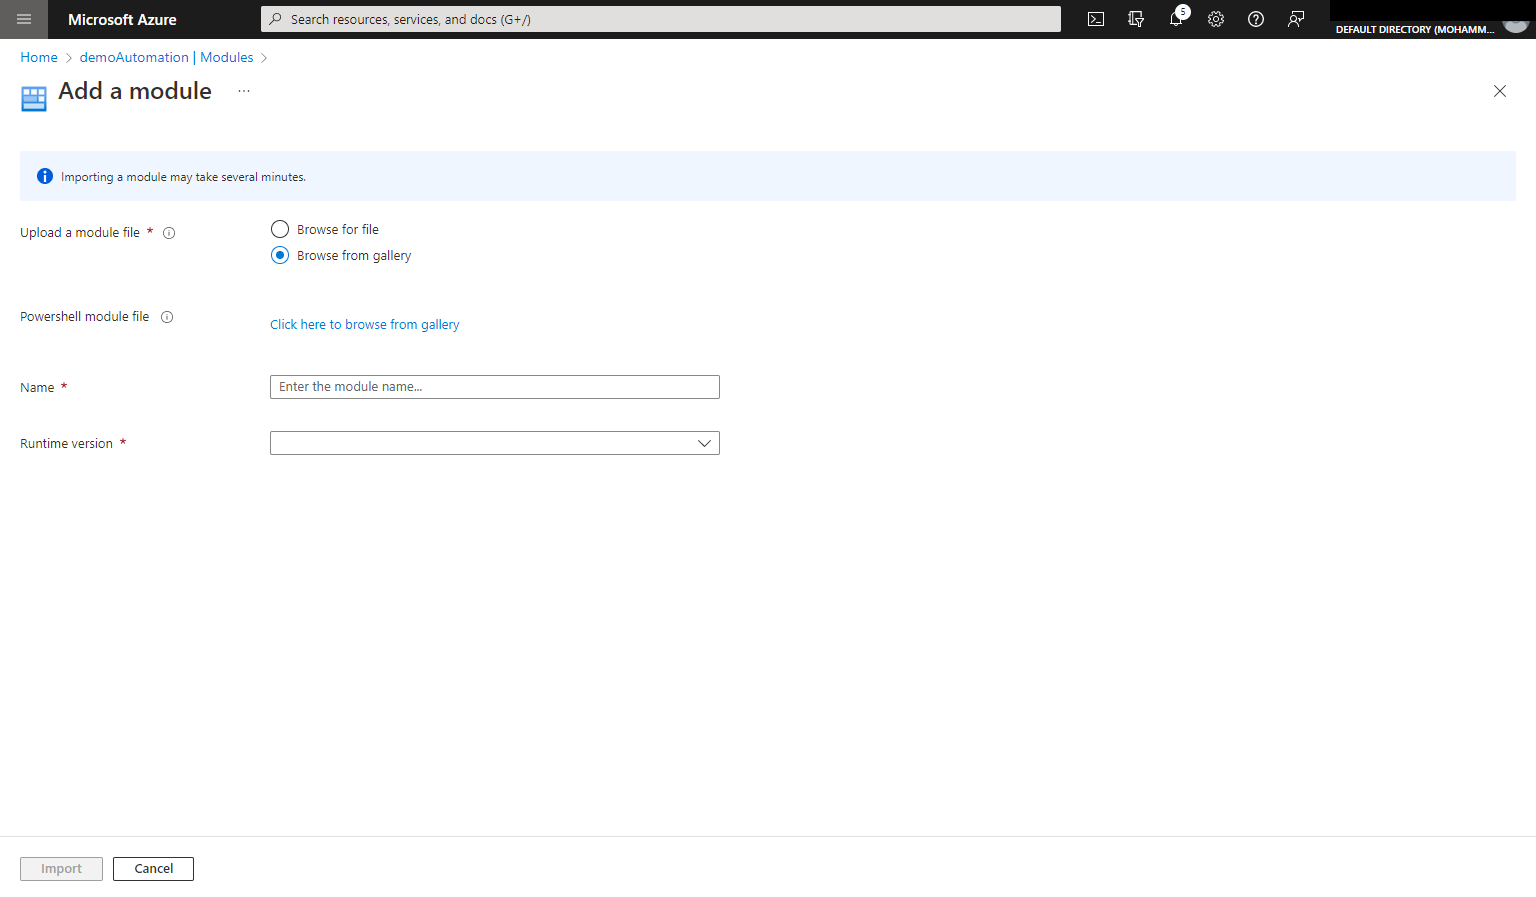
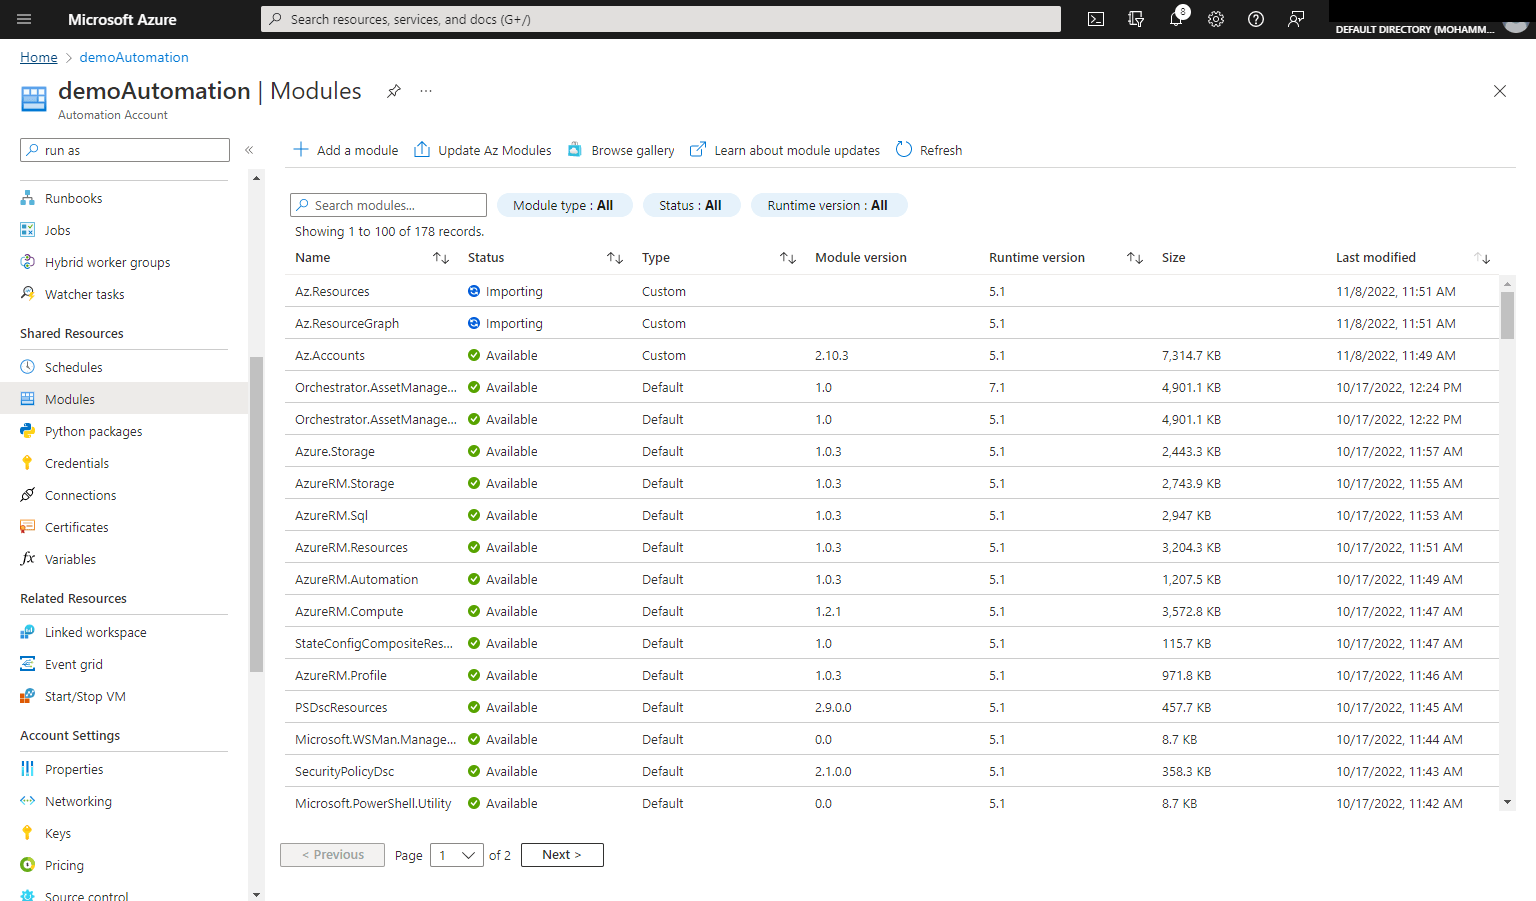
Step 3: As we are using some modules in the Powershell code we use that are not default installed on the Azure Automation account, we have to install the following three modules
Az.Accounts
Az.ResourceGraph
Az.Resources
- Go to Modules blade in the Azure Automation Account
- Click on Add a Module and Browse from Gallery
- Search for “Az.Accounts“, “Az.ResourceGraph“, and “Az.Resources” and click on import one by one.
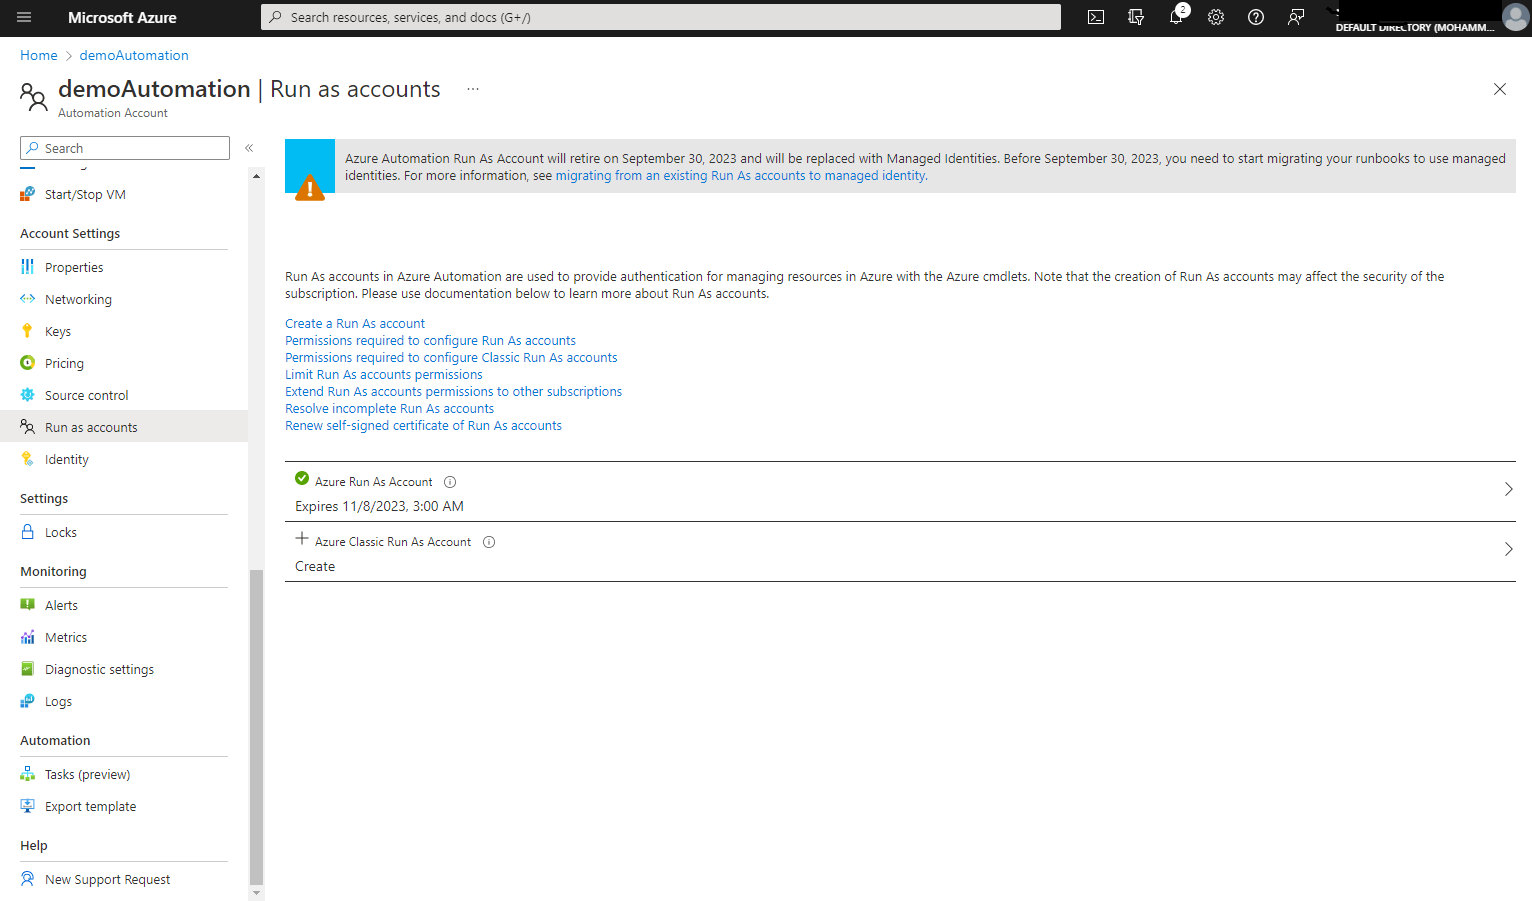
Step 4: Create a Run as Account
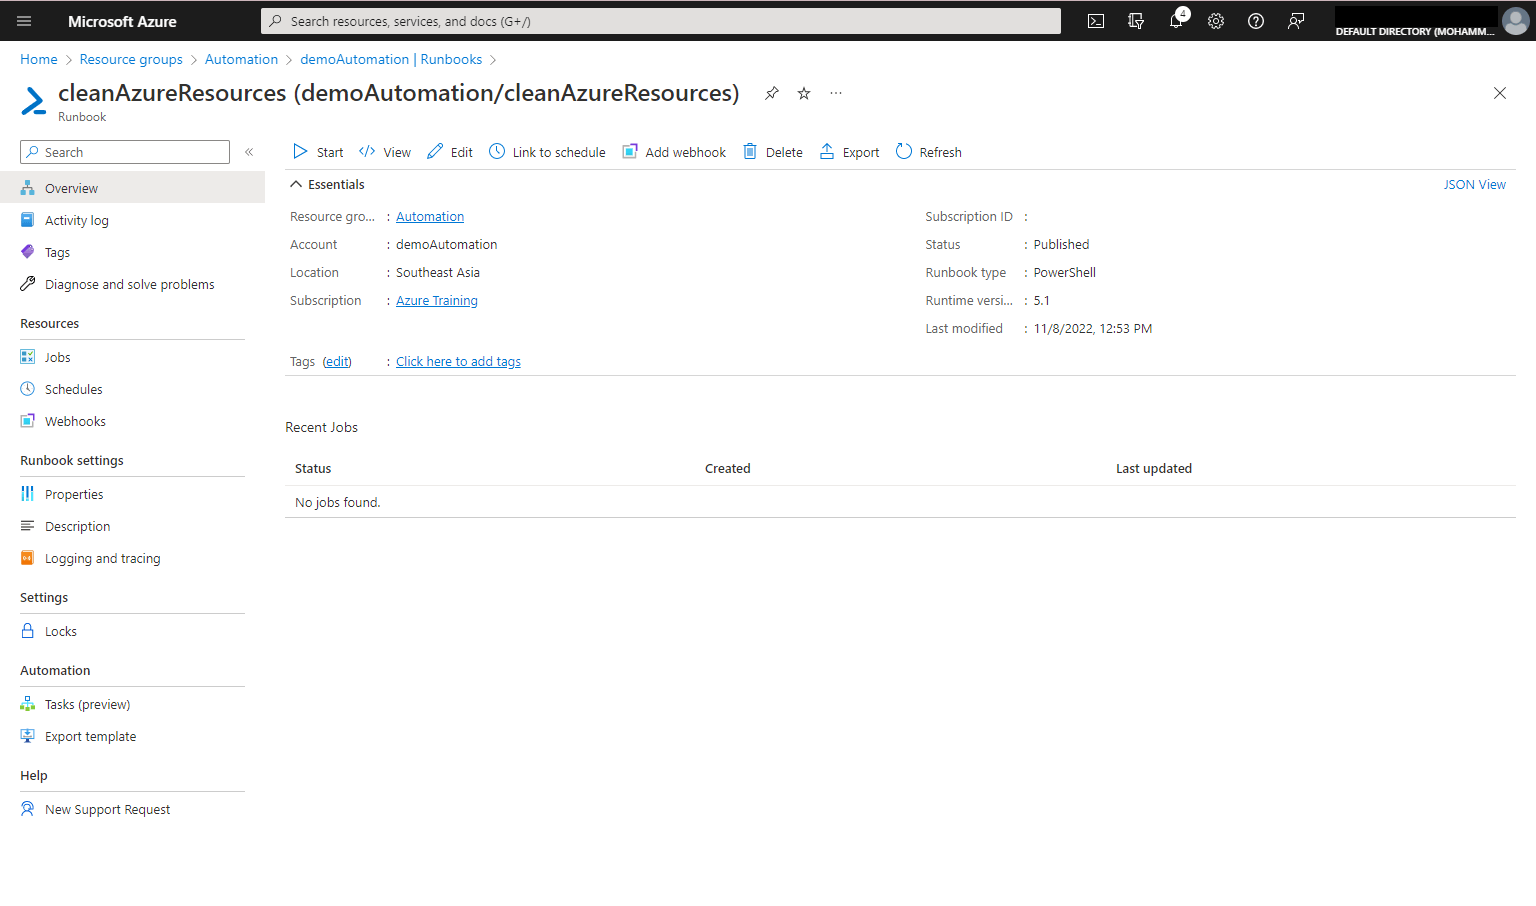
Step 5: Once the modules are imported create a Runbook with the following steps.
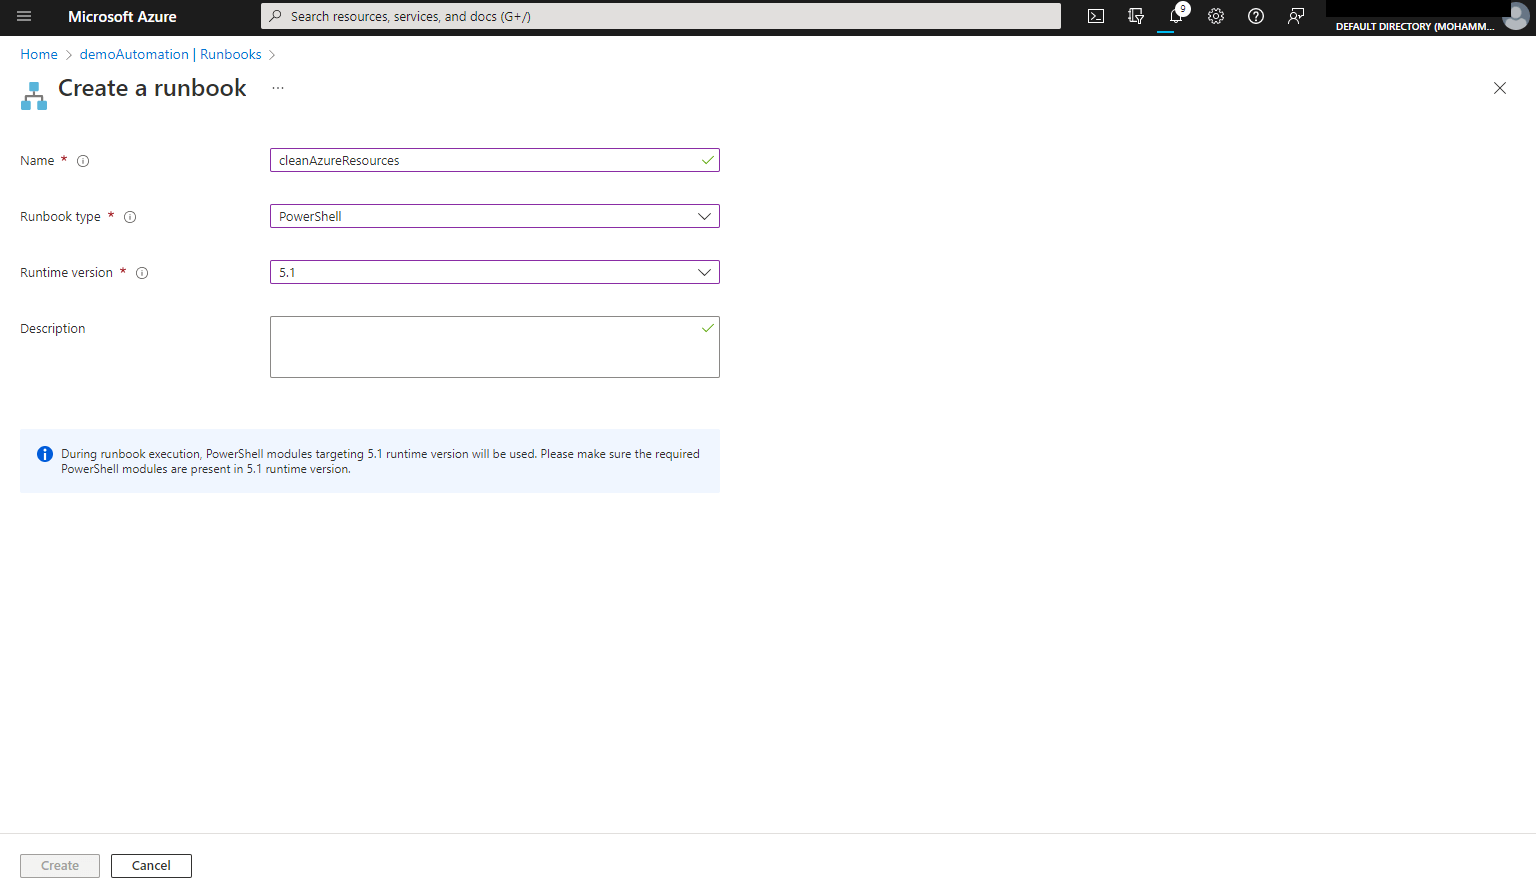
- Go to Runbooks blade and click on Create a Runbook
- Fill in the Name and select PowerShell for the runbook type and click on Create.
- Paste the following PowerShell script when the PowerShell editor gets started after the creation.
$connectionName = "AzureRunAsConnection"
try
{
    # Get the connection "AzureRunAsConnection "

$servicePrincipalConnection=Get-AutomationConnection -Name $connectionName
Connect-AzAccount `
        -ServicePrincipal `
        -Tenant $servicePrincipalConnection.TenantId `
        -ApplicationId $servicePrincipalConnection.ApplicationId `
        -CertificateThumbprint $servicePrincipalConnection.CertificateThumbprint
}
catch {
    if (!$servicePrincipalConnection)
    {
        $ErrorMessage = "Connection $connectionName not found."
        throw $ErrorMessage
    } else{
        Write-Error -Message $_.Exception
        throw $_.Exception
    }
}
$expResources= Search-AzGraph -Query 'where todatetime(tags.expireOn) < now() | project id'
foreach ($r in $expResources) {
    Remove-AzResource -ResourceId $r.id -Force
}
$rgs = Get-AzResourceGroup;
foreach($resourceGroup in $rgs){
    $name=  $resourceGroup.ResourceGroupName;
    $count = (Get-AzResource | Where-Object{ $_.ResourceGroupName -match $name }).Count;
    if($count -eq 0){
        Remove-AzResourceGroup -Name $name -Force
    }
}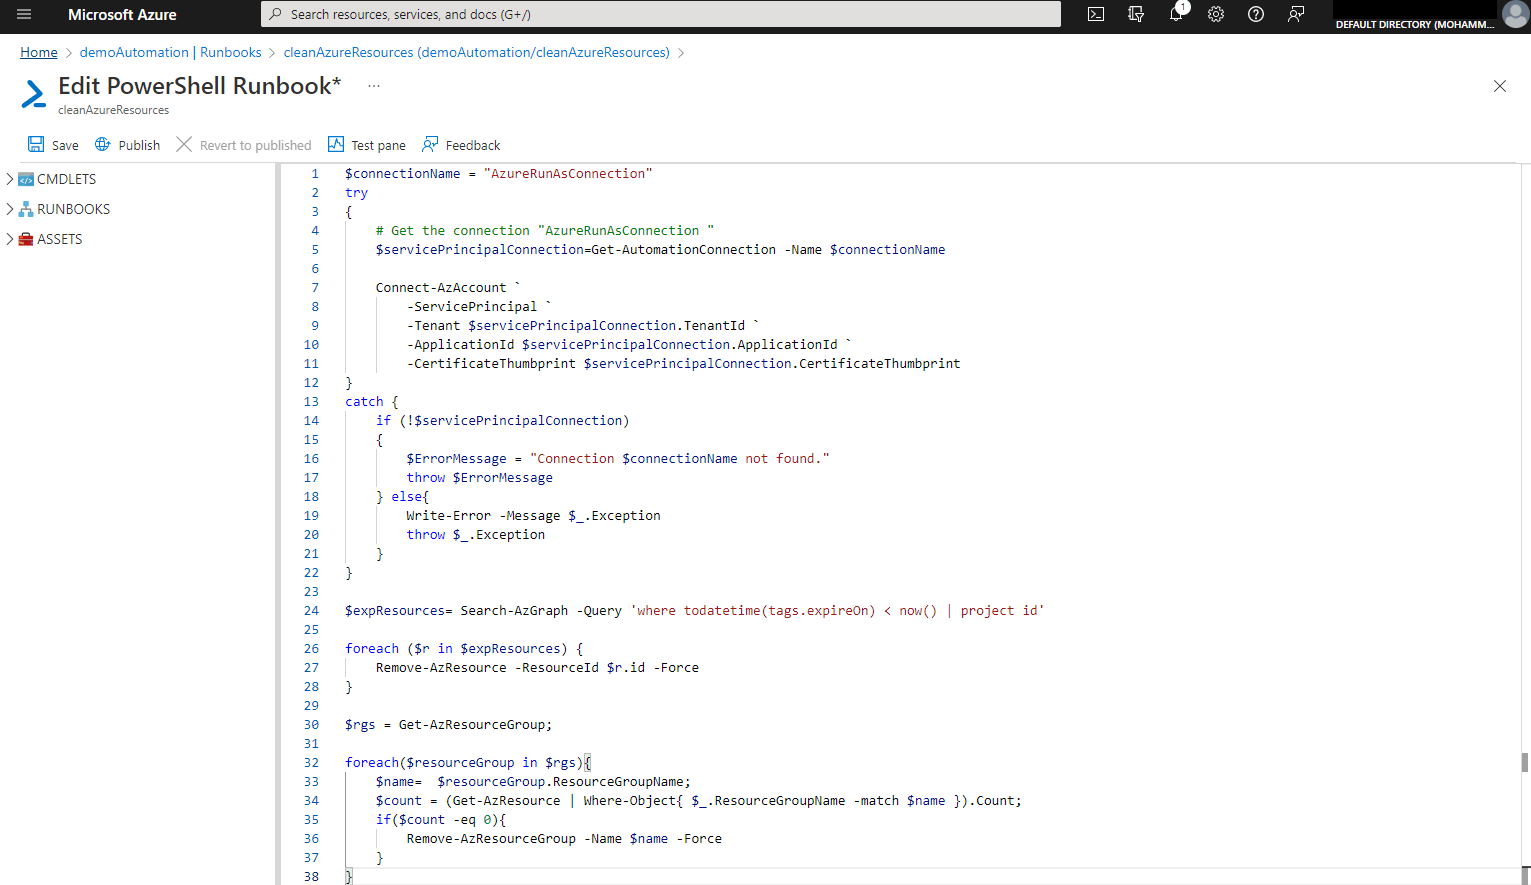
The script will first log into the account and query all the resources with the tag expireOn date before the current date, then the script deletes the resources one by one, and then run a query on the Resource groups and delete that too.
d) Click on Save and Publish to confirm.
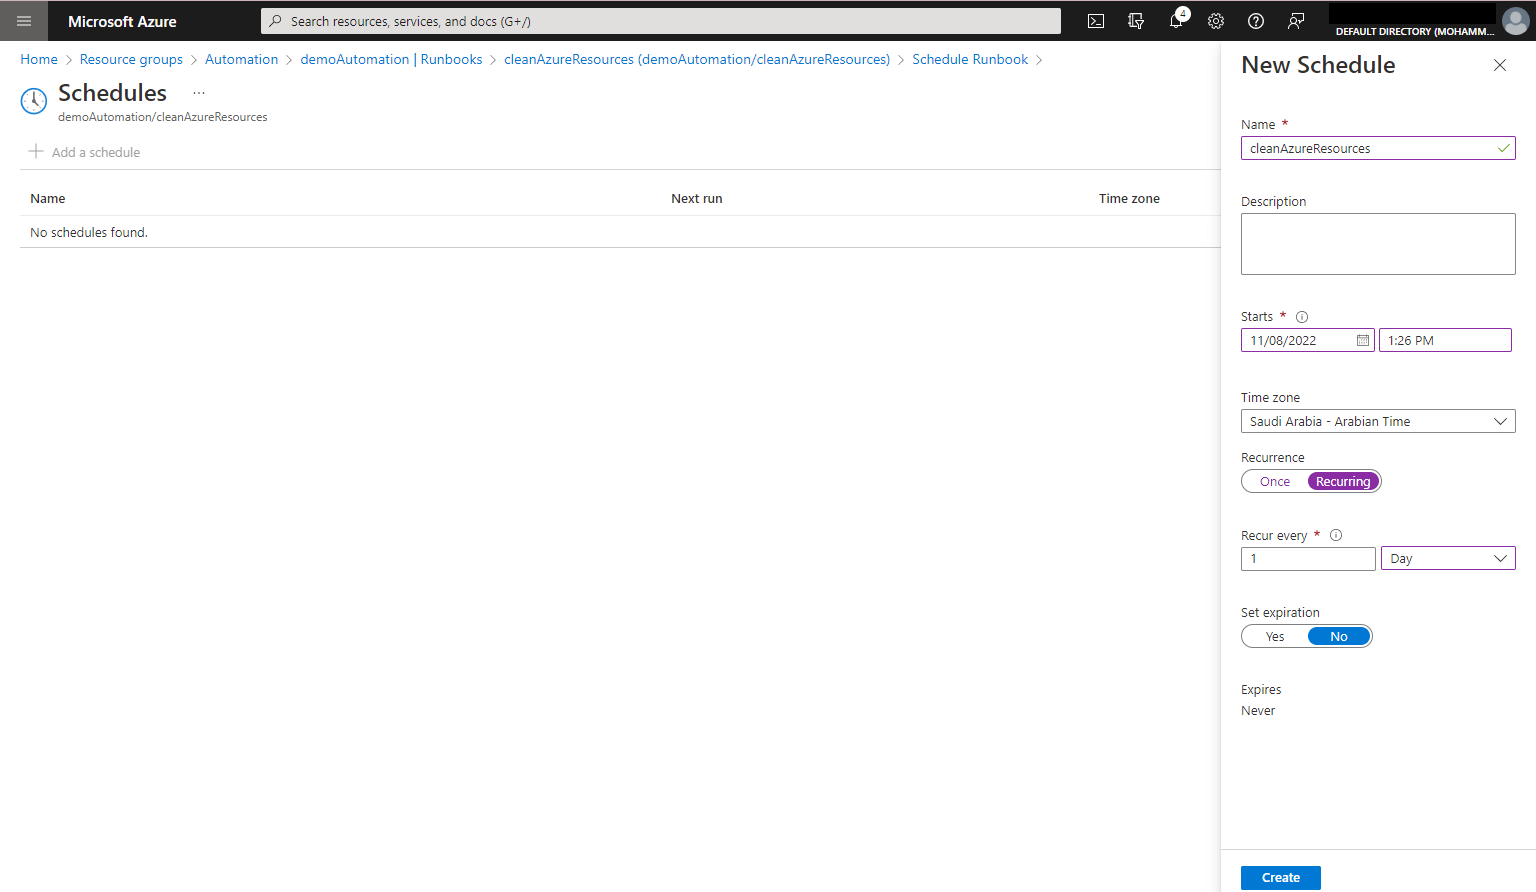
Step 6: Next we have to schedule to run the scripts every day with the following steps.
- Select the Link to schedule blade from the runbook we created.
- Click Link a schedule to your runbook and then Add a schedule
- Give the schedule and name and set the stats time to let us say tomorrow at 10:00 AM and select your time zone
- Click recurring and select recur every 1 day and click on create.
That’s it! Your Azure subscription will be cleaned automatically, every day.