


Protect your Azure resources with Locks
Azure Locks enables you to prevent any other users in your organization from accidentally deleting or modifying any critical resources. Irrespective of the user’s access level, the lock overrides any such permissions.
Here in this article, we will see how to make use of locks in the Azure portal.
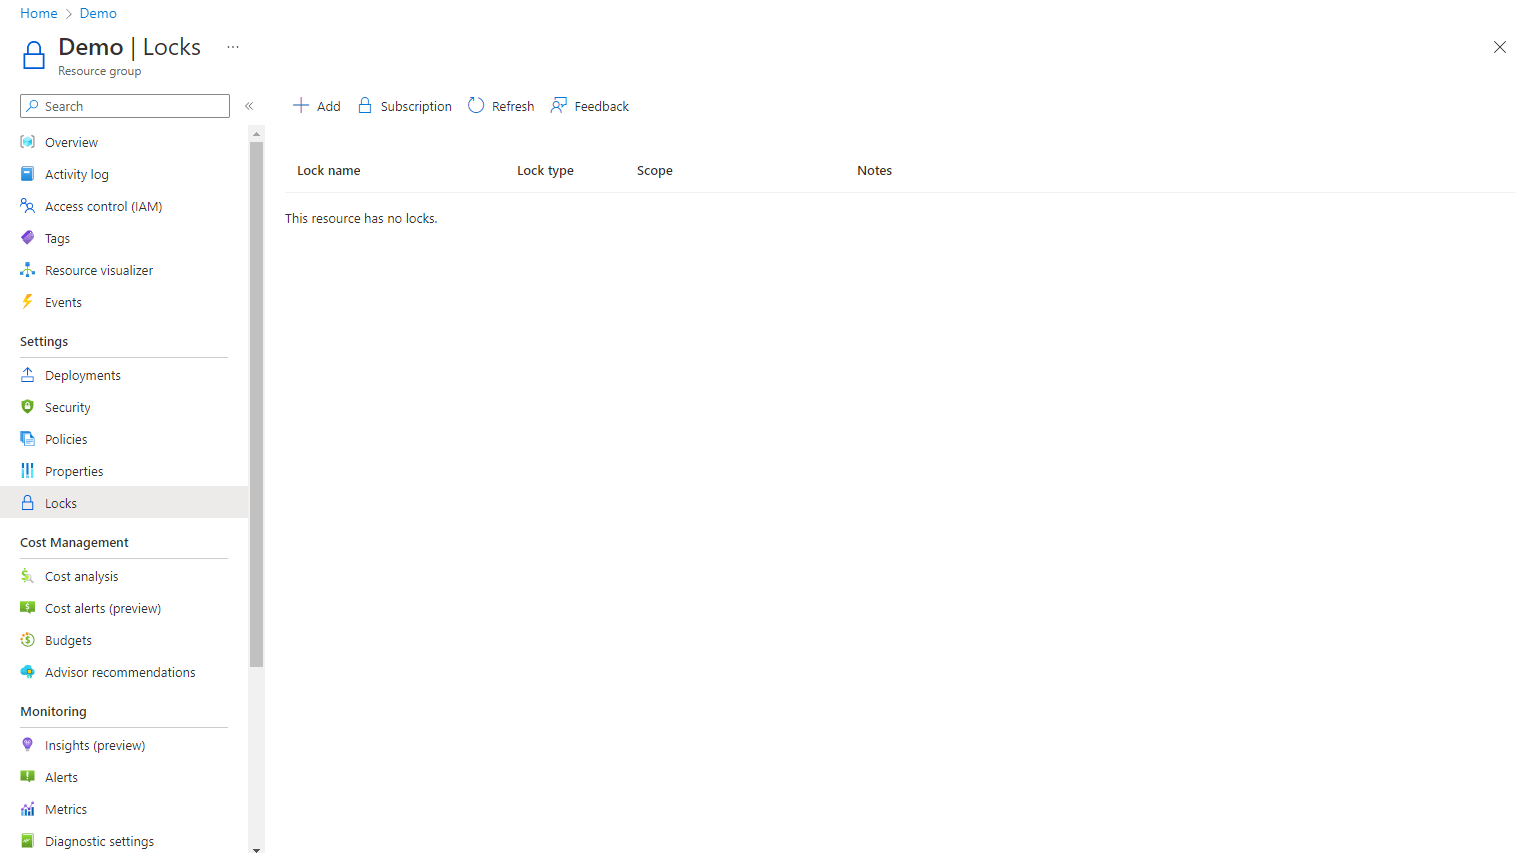
Step 1: Here I am already on my demo resource group and you can see the Locks menu on the left pane. If you select locks you can see no locks have been listed.
Step 2: Click on Add, Give the lock a Name, and select the Type and notes if any.
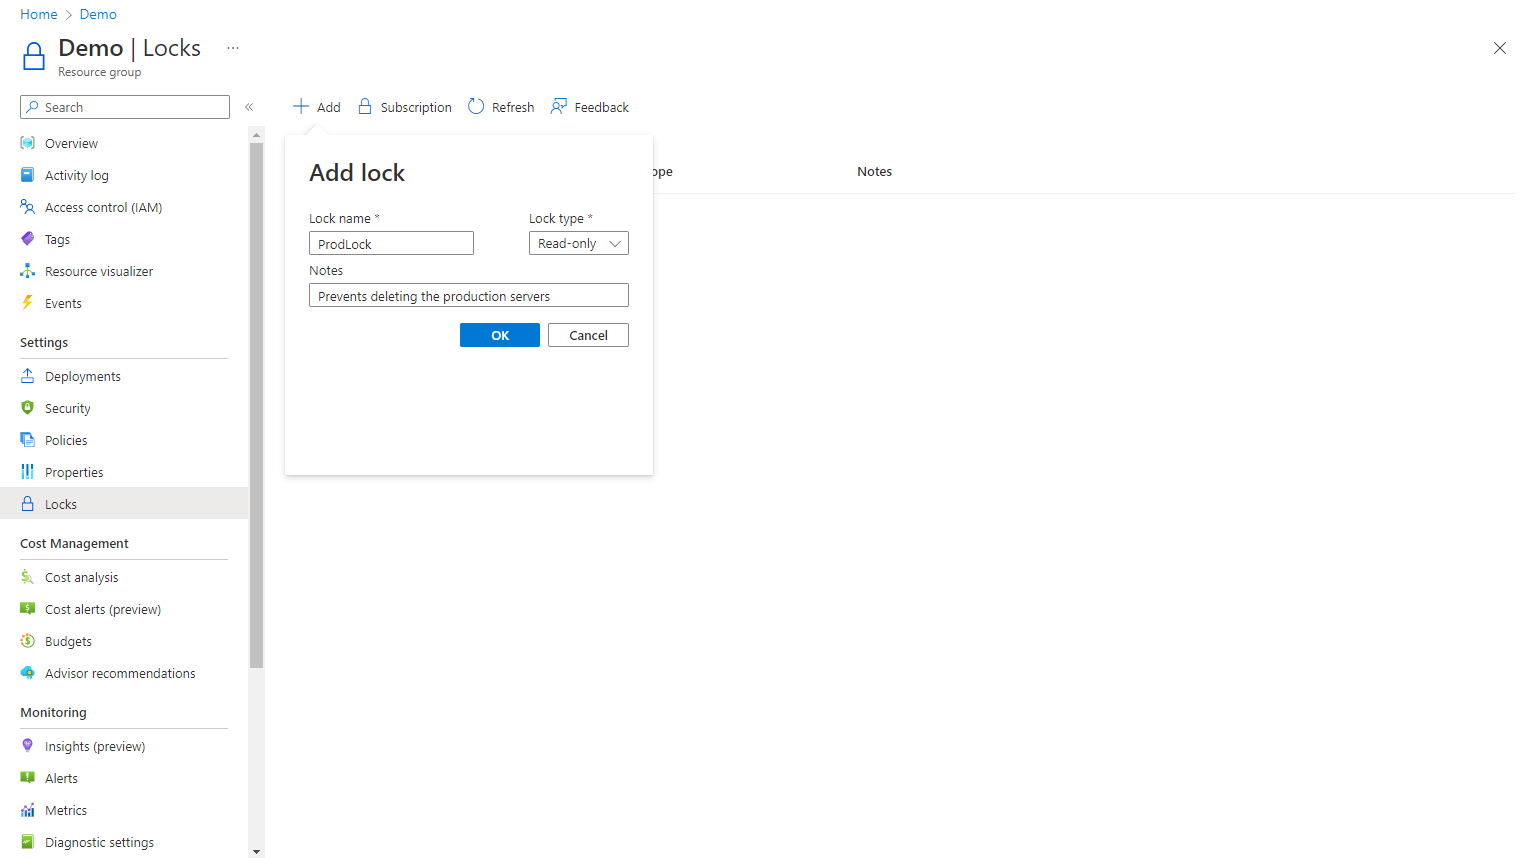
Here if you select the Read-only type, authorized users will be able to read resources, but cannot modify or delete them, while in Delete, they can modify, but cannot delete them.
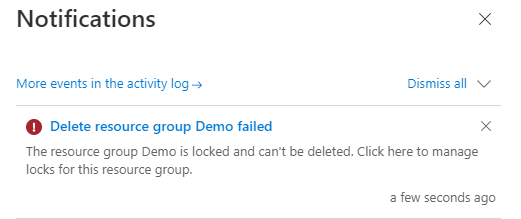
Step 3: Now if any user tries to delete or update this resource they will get a warning of the lock and only after deleting the lock first, they can perform the necessary action.
One important point to be aware of is that if a lock is applied at the parent level, that is resource group level, all resources within the scope will inherit the same lock. This will be automatically applied even if a new resource has been added later to the same resources group. If you have two different types of locks defined at the parent and resource levels, the most restrictive lock takes precedence
